1. Master the Art of Thrift Store Furniture Upcycling
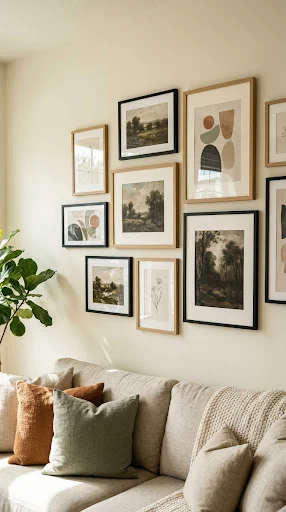
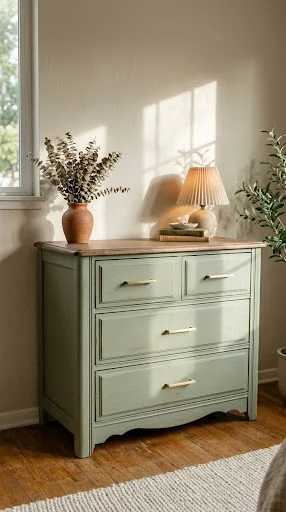
Transforming your living space on a shoestring budget often begins in the unlikeliest of places: your local thrift store, yard sales, or online community marketplaces. Old, forgotten wooden dressers, outdated nightstands, and scratched coffee tables are goldmines waiting for a second life. Instead of spending hundreds of dollars on brand-new furniture pieces that lack character, search for sturdy, vintage items crafted from solid wood. With a little imagination and manual labor, you can elevate a ten-dollar garage sale find into a modern, magazine-worthy showstopper that anchors your room’s entire aesthetic.
The process of upcycling is simple, accessible, and deeply satisfying. Start by thoroughly cleaning the piece to remove decades of dust, grime, and polish. Give it a light sanding to scuff up the existing finish so your new paint adheres seamlessly. Choose a high-quality chalk paint or mineral paint in a sophisticated, modern hue like sage green, moody charcoal, or warm cream. Finish the transformation by swapping out rusty, dated hardware for contemporary brass knobs, sleek black pulls, or handcrafted ceramic handles. This single afternoon project creates a custom, high-end focal point without forcing you to spend big.
2. Paint an Accent Wall with Bold or Earthy Tones
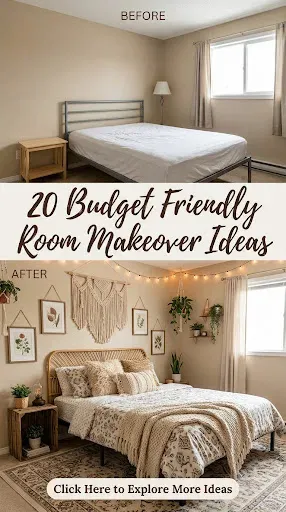
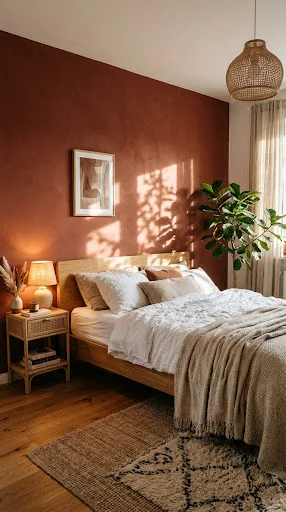
Never underestimate the transformative power of a single can of paint. Painting an entire room can be expensive, time-consuming, and overwhelming, but creating a strategic accent wall instantly injects drama, warmth, and depth into your space. An accent wall draws the eye immediately upon entering, creating a natural focal point behind a bed frame, living room sofa, or dining table. By limiting your painting efforts to one wall, you dramatically cut down on material costs, paint supplies, and labor time while maximizing visual impact.
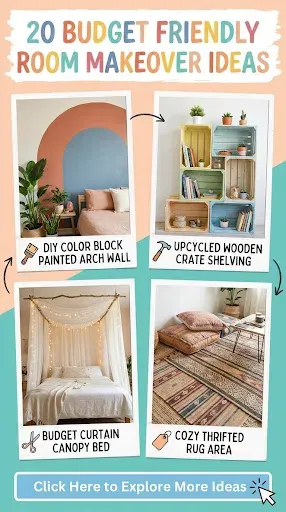
To keep the look timeless and chic, select shades that evoke serenity or rich sophisticated elegance. Earthy tones like terracotta, olive, deep navy, and warm taupe are trending heavily because they bring a grounded, cozy vibe to any bedroom or living room. If you want to push your creative boundaries further, consider geometric color-blocking, a subtle arch painted around a structural element, or a simple tonal gradient. The key to a professional finish lies in clean, precise lines, so invest in quality painter’s tape and take your time prepping the surface before rolling on your dream color.
3. Create DIY Board and Batten or Beadboard Panelings
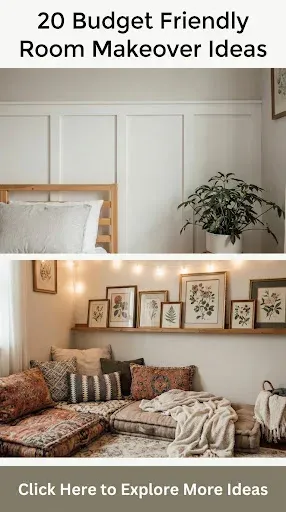
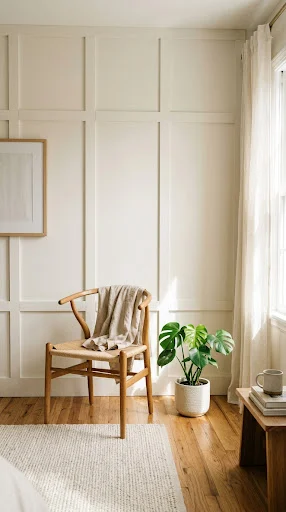
Architectural details give a home a high-end, custom-designed feel, yet standard builder-grade homes often lack these charming characteristics. Installing custom woodwork through professional contractors can cost thousands, but a DIY board and batten wall or beadboard installation is remarkably affordable. Using inexpensive pine boards, MDF strips, or lightweight beadboard panels from your local hardware store, you can add structural dimension and tactile richness to plain, flat drywall over a single weekend.
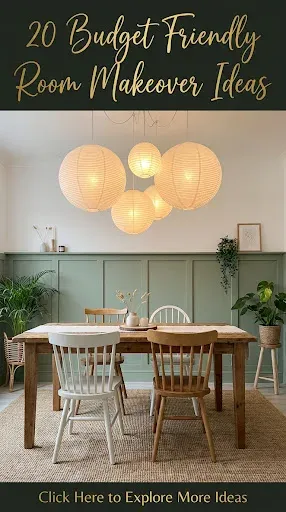
Begin by measuring your wall space and mapping out your grid or vertical strip layout using a level and pencil. Nail the pre-cut strips directly into the studs, caulk all the seams and nail holes meticulously to ensure a seamless finish, and then paint the entire wall—both the wood trim and the exposed drywall—in a unified color. A crisp monochromatic white creates a bright, breezy coastal atmosphere, while a moody dark gray or deep forest green lends a cozy, historic charm. This low-cost upgrade fundamentally alters the light and texture of your room, making it feel structurally expensive.
4. Hang Floor-to-Ceiling Sheer Curtains
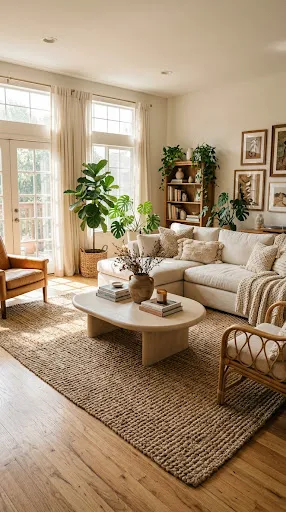
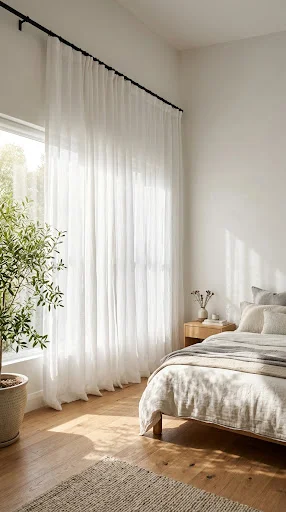
Window treatments are frequently overlooked during budget renovations, yet they possess the unique power to alter a room’s scale and lighting entirely. Short, heavy, or improperly hung curtains can make a room feel cramped, dark, and dated. By swapping out basic blinds or short drapes for airy, floor-to-ceiling sheer curtain panels, you instantly soften incoming natural light while creating the grand optical illusion of soaring ceiling heights and expansive floor space.
To execute this designer trick on a budget, purchase an affordable, minimal metal curtain rod and mount it just an inch or two below your ceiling line or crown molding, rather than directly above the window frame. Extend the rod past the sides of the window frame by several inches so that when the curtains are fully open, they frame the glass without blocking light. Select lightweight sheer or linen-blend fabrics that drop all the way down to skim or gently puddle on the floor. The result is a bright, breezy, atmospheric room that feels effortlessly luxurious and infinitely larger.
5. Create a Gallery Wall with Printable Digital Art
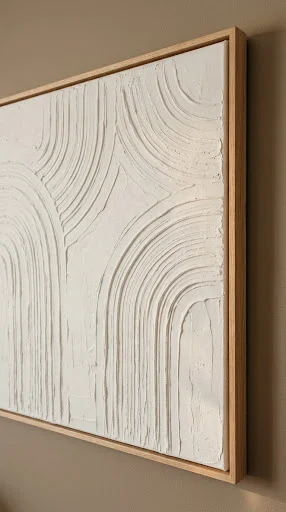
Filling large, blank walls with original fine art can quickly drain your home decor savings. Thankfully, the digital age has democratized art access through downloadable digital prints available online for just a few dollars. From vintage oil painting reproductions and minimalist abstract linework to mid-century modern geometry and architectural photography, you can curate a personalized art gallery tailored precisely to your personal aesthetic without stepping foot inside a pricey gallery.
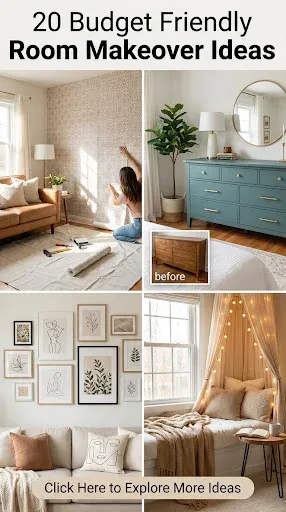
Once you download your selected high-resolution art files, print them at home or use an inexpensive local print shop or photo pharmacy print department. To keep framing costs low, source matching or intentionally eclectic frames from thrift stores, discount home outlets, or multipacks online. Play with matting to give smaller prints a museum-quality presentation. Arrange your prints on the floor first to test out symmetric grids or organic asymmetrical clusters before driving nails into the wall, ensuring a balanced, captivating gallery installation.
6. Style Open Shelving with Thrifted Ceramic and Books
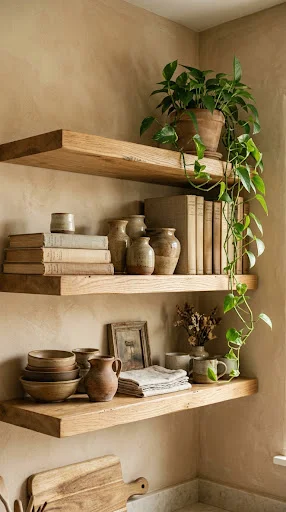
Open shelving provides a dynamic canvas to display personality, texture, and curation in your kitchen, living room, or home office. However, buying all-new decorative objects to fill shelves can get surprisingly expensive. The budget-friendly secret to styling shelves like an interior designer is layering thrifted ceramic vessels, secondhand hardcover books, vintage brass trinkets, and natural textures into a cohesive visual story.
Spend a weekend hunting at flea markets for uniquely shaped clay pots, clear glass bottles, wooden bowls, and sculptural vases. Don’t worry about the original colors of ceramic pieces; you can easily paint them with a textured baking soda and acrylic paint mix to mimic pricey, artisan terracotta or stone surfaces. Remove plastic dust jackets from old hardcover books to reveal beautiful, muted linen spines underneath. Stack books both horizontally and vertically, interspersing them with your upcycled ceramics and small cascading houseplants to achieve an effortlessly curated aesthetic.
7. Swap Out Standard Builder-Grade Light Fixtures
Standard builder-grade lighting—often referred to as flush-mount “boob lights”—can instantly make a bedroom or hallway feel basic and uninspired. Replacing these dated lighting fixtures with stylish flush mounts, woven pendant lights, or modern semi-flush chandeliers is one of the fastest ways to modernize your home’s interior design. Lighting acts as the jewelry of a room, casting both literal and figurative warmth over your entire makeover.
You don’t need a massive budget or advanced electrical expertise to make a massive impact. Look for budget-friendly lighting constructed from natural woven rattan, matte black steel, or brushed brass finishings. If you are renting or hesitant about hardwiring, explore plug-in pendant options or battery-operated, puck-light conversions that require no electrical work whatsoever. A beautiful, thoughtfully chosen light fixture instantly grounds the center of the room, elevating every other decorative choice you make around it.
8. Revamp Your Kitchen or Bathroom Cabinets with Peel-and-Stick Contact Paper
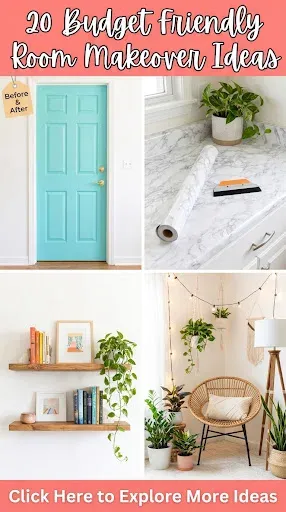
Full cabinet overhauls in kitchens and bathrooms are notoriously expensive, but you don’t have to live with outdated laminate, warped wood, or builder-beige finishes. Modern vinyl contact paper and peel-and-stick decorative film offer a removable, hyper-realistic, and remarkably affordable alternative that allows you to transform cabinet doors, drawer fronts, and countertops in a single afternoon without damaging underlying surfaces.
Select heavy-duty, waterproof vinyl wraps featuring faux marble veins, rich wood grain textures, or matte solid colors. Thoroughly degrease and clean the surfaces with isopropyl alcohol before application to guarantee optimal adhesion. Use a squeegee and a standard household hairdryer to warm the vinyl, smoothing out air bubbles and wrapping corners with precision. This low-cost, high-reward DIY update is especially ideal for renters looking to personalize their space or homeowners saving up for a full structural renovation down the road.
9. Frame Plain Bathroom Mirrors with Trim
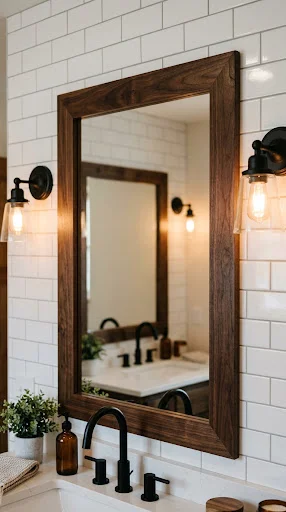
The giant, frameless sheet mirrors glued above bathroom vanities in many homes and apartments are completely functional, but they lack distinct personality and style. Buying a custom-framed replacement mirror can cost hundreds, but you can build a sleek, custom frame around your existing flat mirror using basic wooden casing trim, a miter box, and heavy-duty construction adhesive for a tiny fraction of that price.
Measure the perimeter of your flat mirror accurately and buy pre-primed wood trim or moulding from your local home improvement center. Cut the edges at 45-degree angles using an inexpensive hand miter saw, sand the edges smooth, and paint the trim pieces in your chosen color—such as a crisp semi-gloss white, sophisticated black, or rich wood stain. Secure the trim pieces directly onto the glass face of the mirror using mirror-safe adhesive tape or construction glue, framing out the raw glass edge and instantly turning a bland fixture into an elegant feature piece.
10. Introduce Large Indoor Plants and Propagation Stations
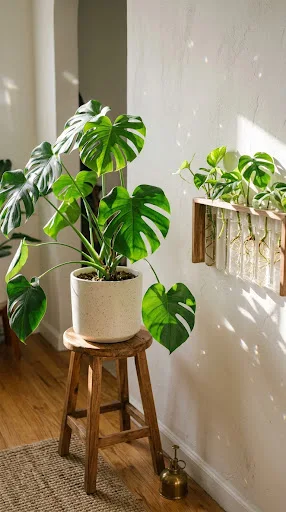
Houseplants possess an unmatched ability to breathe life, color, and natural texture into a static room, making them indispensable tools for budget-friendly room makeovers. While buying mature, large-scale trees like Fiddle Leaf Figs or Monstera Deliciosas can get pricey, strategic plant buying, self-propagation, and clever styling allow you to build an indoor jungle without breaking the bank.
Start by purchasing smaller, fast-growing varieties like Golden Pothos, Snake Plants, or Heartleaf Philodendrons, which offer high visual payout with minimal investment. Take cuttings from existing plants and place them in clear glass jars mounted on a sunny wall to create a functional, living propagation display. To achieve the dramatic visual impact of a tall, high-end plant, elevate smaller potted plants on affordable wooden stools, thrifted plant stands, or stacked vintage books, drawing the eye upward and filling vertical spaces naturally.
11. Re-cover Old Throw Pillows with DIY Covers
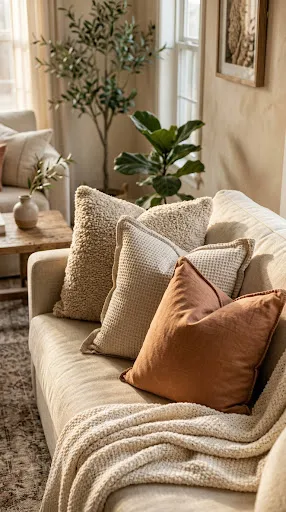
Throw pillows are the ultimate seasonal decor transformers, adding pops of accent color, tactile warmth, and plush comfort to sofas, armchairs, and beds. However, buying brand-new decorative pillows repeatedly is an unnecessary expense, especially when you already have functional pillow inserts sitting on your furniture. Replacing existing covers or making simple custom covers from discounted scrap fabric is a cost-effective way to refresh your room’s color story.
Look for envelope-style pillow covers online or make your own using basic sewing techniques, heavy linen, canvas drop cloths, or textured boucle scraps. If you don’t know how to sew, hem tape and an iron allow you to create seamless cushion covers without a single stitch. Mix and match patterns, pairing large geometric prints with subtle woven textures and solid tones. Swapping out your accent pillow covers instantly shifts the mood of your room from cold and sterile to rich and inviting.
12. Apply Removable Peel-and-Stick Wallpaper
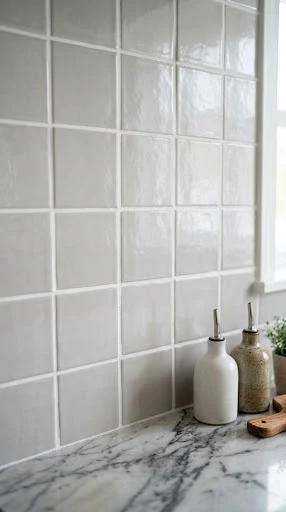
Traditional wallpaper requires costly professional installation, specialized pastes, and a permanent commitment that terrifies renters and indecisive decorators alike. Peel-and-stick temporary wallpaper has completely revolutionized interior styling, offering endless patterns, vibrant colors, and textural depth at an accessible price point with completely stress-free installation and removal.
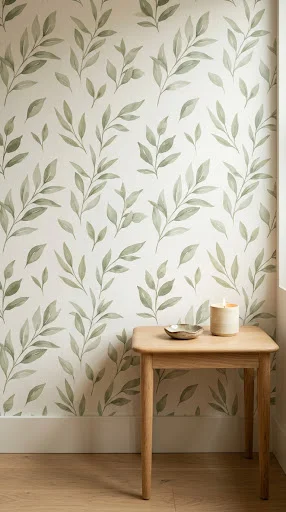
Use removable wallpaper to cover a focal wall, line the back panel of a bookcase, accent an entryway nook, or elevate simple stair risers. From intricate botanical prints and vintage damasks to modern minimalist line art, there is a design for every possible home aesthetic. To ensure a flawless installation, work slowly from top to bottom, smoothing out air bubbles with a plastic scraper and trimming excess edges cleanly with a fresh utility knife blade.
13. Revitalize Flooring with Inexpensive Large Area Rugs
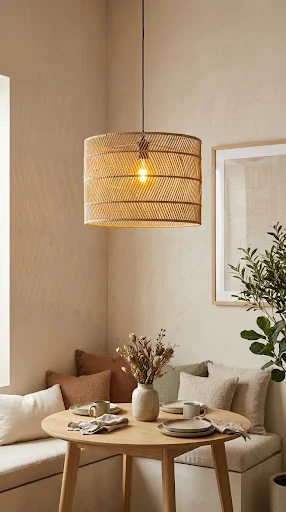
Flooring can make or break a room’s overall aesthetic, but replacing worn carpeting or refinishing old hardwood is one of the most expensive home renovation tasks imaginable. Large area rugs offer an immediate solution, hiding damaged or dated floor surfaces while defining living zones, anchoring furniture layouts, and absorbing room echoes.
To find spacious rugs on a tight budget, search online discount home retailers, look out for clearout sales, or explore durable natural-fiber options like jute and sisal. Jute rugs are surprisingly affordable even in massive sizes, providing a rich, textural, neutral base that fits effortlessly into bohemian, rustic, modern, or coastal rooms. If you want a softer plush rug, layer a smaller, patterned vintage-style rug right over a large, budget-friendly jute base for an elevated, multi-layered designer finish.
14. Repurpose Old Canvas Art with Joint Compound Texture
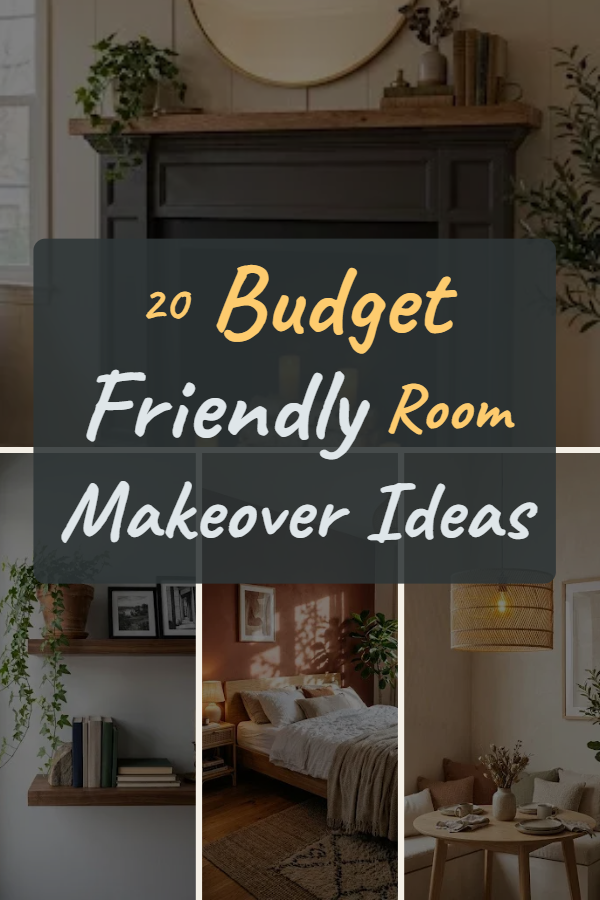
Large-scale textured wall art is massively popular in modern luxury interior design, often retailing for thousands of dollars in high-end design showrooms. You can easily recreate this sophisticated, tactile minimalist art using cheap pre-mixed joint compound (drywall mud) from the hardware store and a discarded canvas from a thrift shop or discount art store.
Spread a thick, even layer of joint compound across the entire surface of an old canvas using a putty knife or trowel. While the compound is still wet, use notched trowels, old combs, plastic forks, or your fingers to create sweeping arches, geometric grooves, or organic wave patterns across the surface. Let it dry completely overnight, sand down any unintended sharp edges, and paint the entire piece with a coat of matte acrylic paint in warm off-white, sandy beige, or deep terracotta. Frame it with a thin DIY wooden floating frame to complete the high-end look.
15. Install Floating Wall Shelves for Vertical Storage
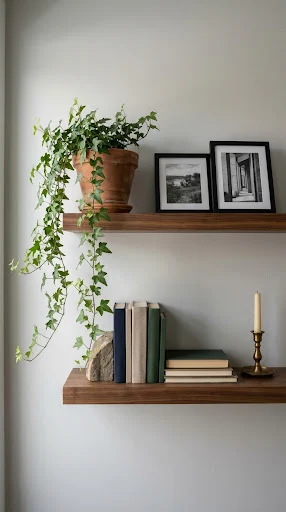
When floor space is limited, utilizing vertical wall space becomes essential for both practical organization and decorative styling. Floating shelves eliminate bulky, heavy furniture footprints while offering clean lines and functional storage for books, art prints, plants, and structural artifacts. They make short walls look taller and bring visual balance to dead corners.
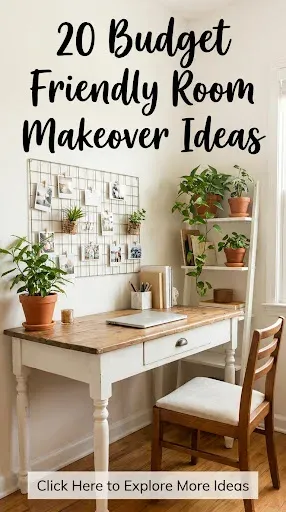
Instead of buying expensive prefabricated shelf kits, buy raw pine or cedar boards from a local lumber yard, cut them to your custom length, and stain them with a warm walnut or oak wood finish. Mount them using affordable, heavy-duty hidden steel brackets or minimalist industrial pipe brackets. Staggering two or three floating shelves above a desk, toilet, or sofa creates an elevated architectural display that keeps your floor clutter-free while showing off your curated treasures.
16. Refresh Old Grout Lines and Tile with Paint Pens
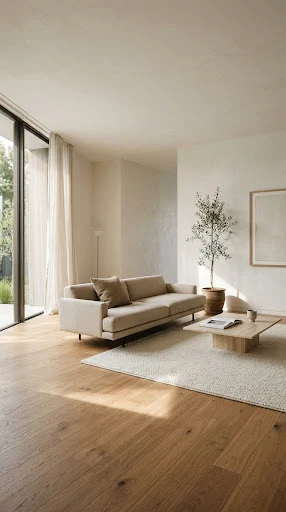
Tired, stained, or discolored grout lines instantly make kitchen backsplashes and bathroom floors look worn out, no matter how clean you keep them. Full retiling or regrouting projects require mess, specialized tools, and considerable cash outlays. Grout refresh paint pens and specialized tile paints offer a fast, mess-free remedy that restores tired tile work overnight.
Grout pens contain light-fast, water-resistant formula paint that covers up tough stains and deep-seated discoloration completely. Simply trace the pen tip along your existing grout lines to transform dingy brown or yellowing grout into crisp, bright white or moody dark gray. If your actual tiles are outdated, use specialized epoxy or tile paint along with stencils to paint over old ceramic tiles entirely, giving your bathroom or kitchen a brand-new floor or backsplash look for just the cost of paint.
17. Transform Overhead Lighting with DIY Fabric Lampshades
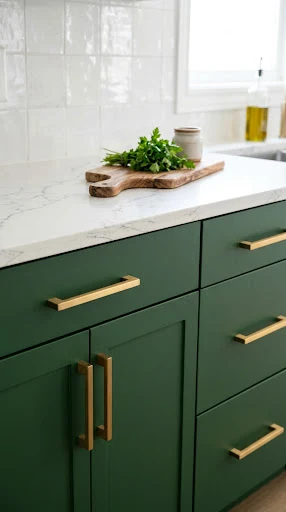
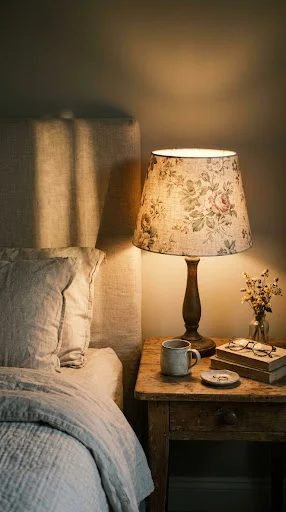
Lampshades are crucial for diffusion and setting mood lighting, but plain white drum shades can look sterile and generic. Custom patterned lampshades are expensive, yet you can easily wrap and recover existing lampshades using beautiful scrap fabrics, vintage silk scarves, or woven linen to introduce unique patterns and warm light filtering into your room.
Take an old, plain lampshade and spray the outer surface evenly with multi-purpose fabric adhesive. Carefully smooth your chosen fabric across the shade, working around the drum or cone shape while tucking and gluing excess fabric neatly over the inner top and bottom metal rings. When the lamp is switched on, light filters through the unique fabric texture and pattern, casting a rich, cozy ambient glow throughout the entire room.
18. Create a Faux Fireplace Mantle Focus Point
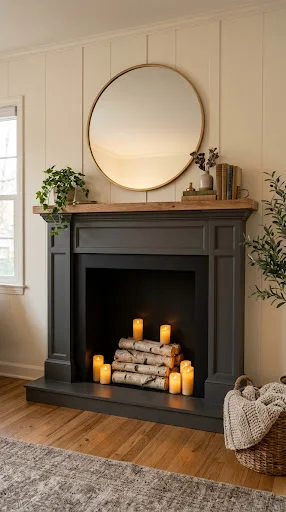
A fireplace naturally acts as the grand centerpiece of any living room, offering a sense of warmth, symmetry, and structural elegance. If your home lacks an existing fireplace, you can easily create a charming faux fireplace mantle anchor on a blank wall using a thrifted vintage mantle surround or building a simple box mantle frame from scratch.
Secure the vintage wooden mantle frame flush against your target wall. Paint the mantle piece to match or contrast with your wall color. Fill the empty center cavity with stacked birch firewood logs, an array of flickering electric pillar candles, or a dark painted arched backing to mimic depth. Decorate the top mantle shelf with a large round mirror, seasonal greenery, and framed art. This creates a cozy architectural feature in rooms that previously lacked architectural interest.
19. Paint Interior Doors a Moody Contrast Color
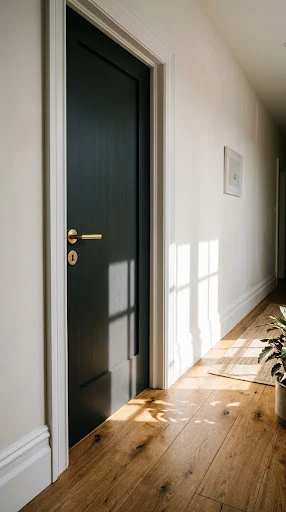
Most home interior doors are painted standard, unassuming trim white, blending seamlessly into the walls and passing completely unnoticed. Painting your interior doors—such as bedroom doors, closet doors, or hallway entrances—in a contrasting dark or saturated color is an effortless, low-cost architectural tweak that adds instant personality and designer flair to plain hallways and rooms.
Choose rich, sophisticated colors like deep navy blue, charcoal black, rich olive, or chocolate brown with a durable satin or semi-gloss finish. Paint both the main door face and the outer edges while leaving the surrounding trim white, or paint the door and trim together for a modern color-drenched look. Swap out worn aluminum door handles for sleek modern black or polished brass lever handles to complete this subtle, high-impact architectural transformation.
20. Rearrange Room Layout and Apply Minimalist Styling Principles
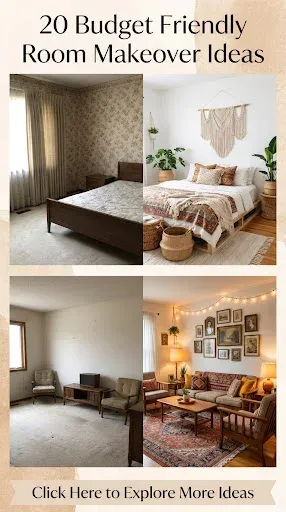
The single most affordable budget makeover idea costs absolutely zero dollars: completely rearranging your existing furniture layout and editing down visual clutter. Over time, rooms accumulate unnecessary furniture pieces, misplaced accessories, and awkward furniture groupings that restrict traffic flow and make spaces feel smaller and more chaotic than they actually are.
Start by clearing the room entirely of small decor items and pulling all furniture away from the walls. Re-think the primary function of the room and establish a clear focal point, such as a window view, television wall, or bed position. Float sofas away from walls to create cozy conversational zones, optimize natural light pathways, and remove at least one-third of your small knick-knacks to let the space breathe. Embracing intentional furniture positioning and minimalist curation transforms the flow, scale, and atmosphere of your room entirely for free.