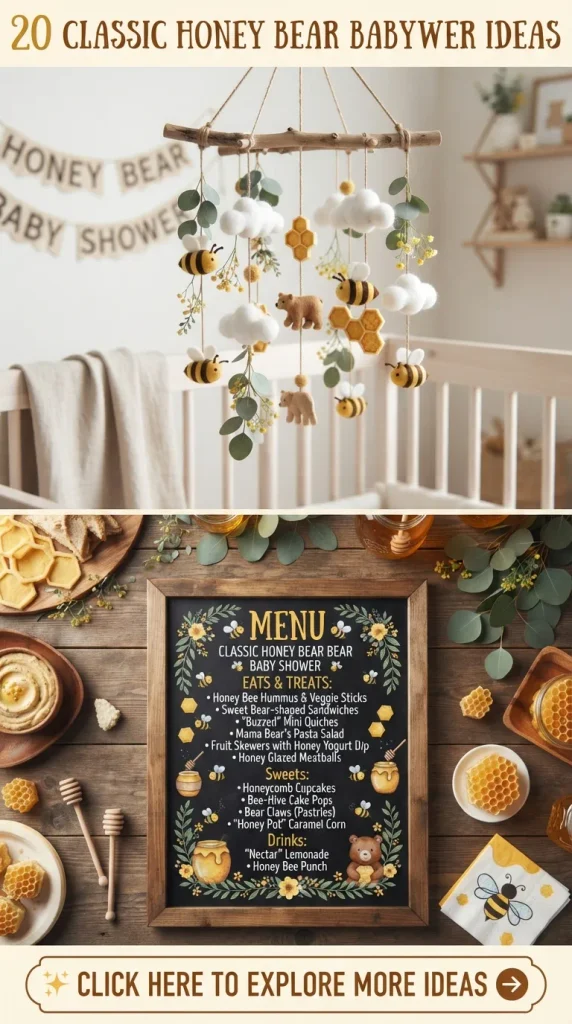
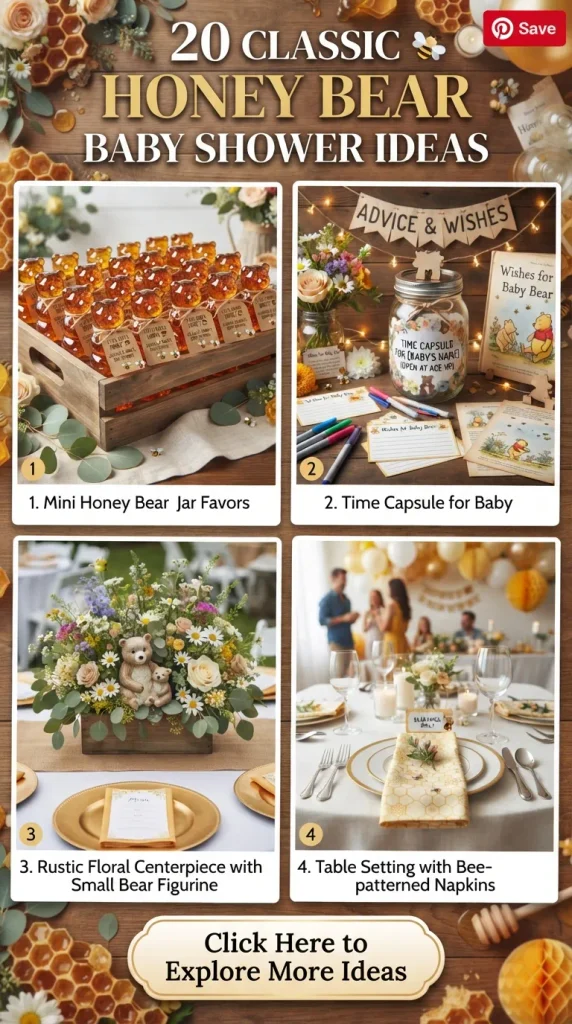
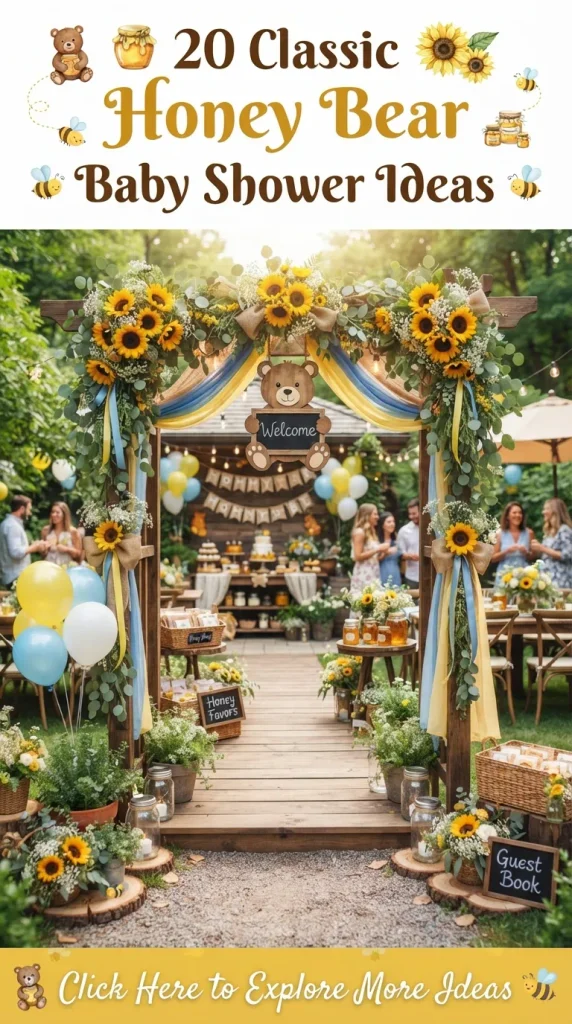
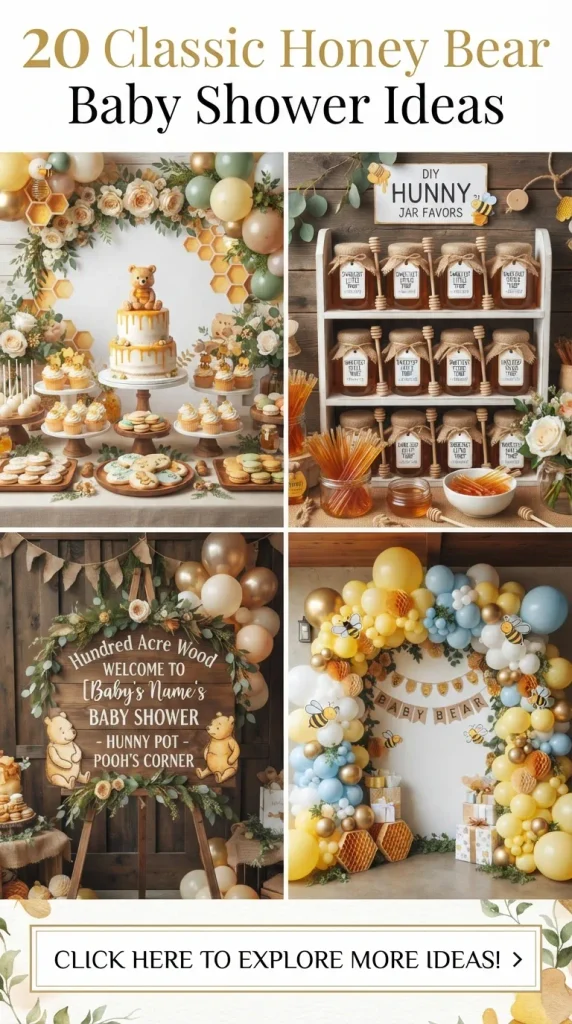
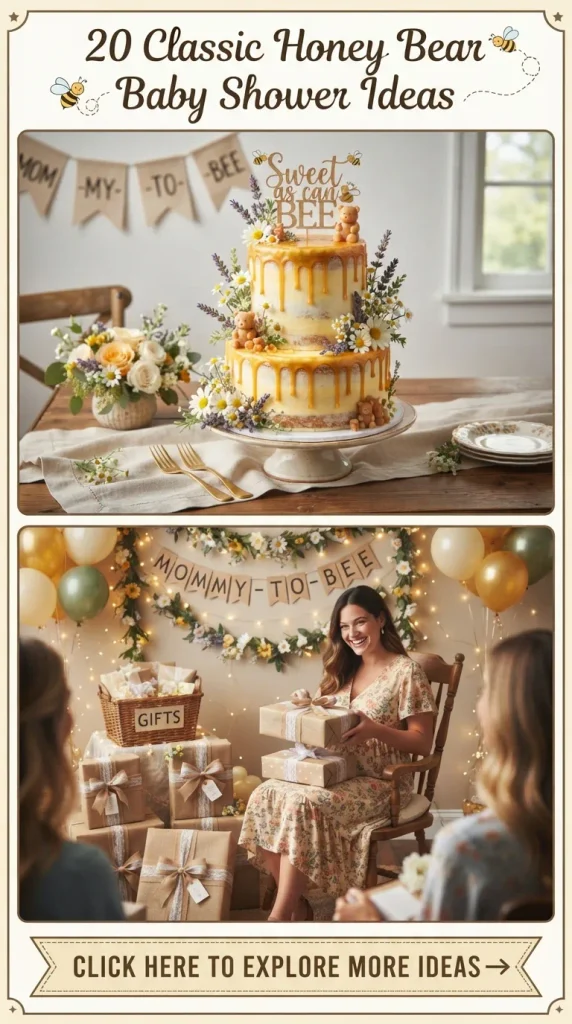
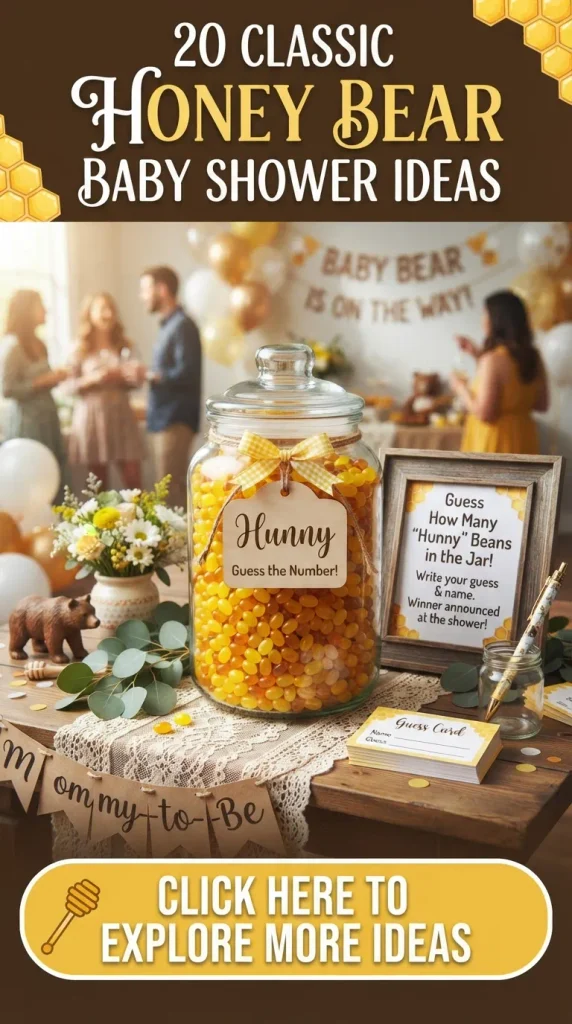
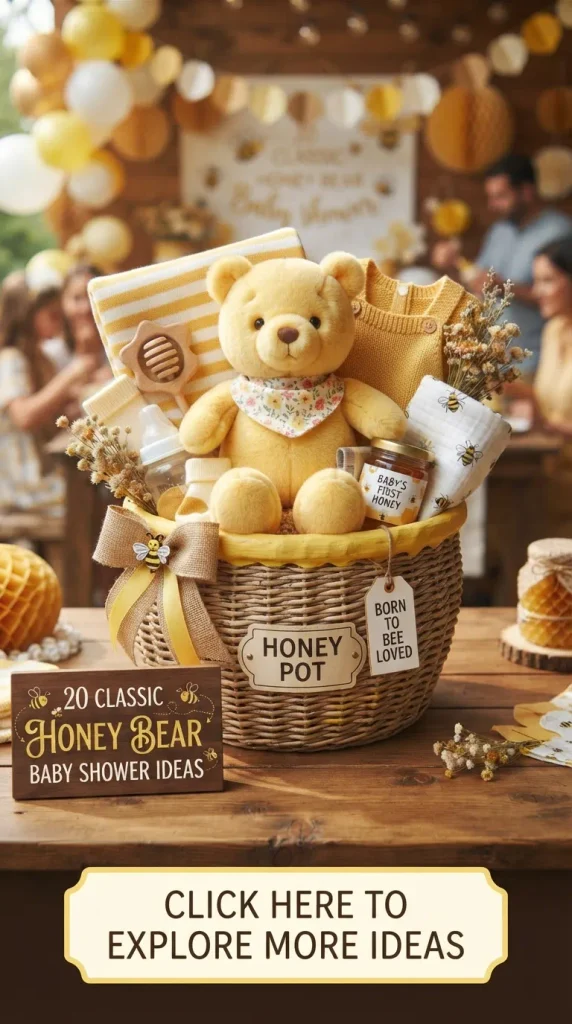
Stepping into the Hundred Acre Wood brings an immediate sense of nostalgia, warmth, and gentle joy. Planning a baby shower is a deeply personal milestone, and choosing a classic Winnie the Pooh theme offers an idyllic backdrop that feels both timeless and universally adored. Unlike trendy, neon-heavy celebrations, a classic vintage Pooh theme relies on sepia-toned sketches, soft honey yellows, sage greens, and delicate storytelling elements inspired by E.H. Shepard’s original illustrations. This aesthetic transforms a standard venue into a tranquil, storybook sanctuary, making guests feel as though they have stepped right inside a cherished childhood book.
Creating this atmosphere requires a delicate balance of rustic charm and refined elegance. Think honey pots adorned with twine, eucalyptus garlands draping over wooden tables, antique books stacked as centerpieces, and subtle touches of gold to elevate the rustic aesthetic into something truly breathtaking. This comprehensive guide explores twenty distinct, highly aesthetic, and gorgeously curated ideas to bring your Winnie the Pooh baby shower to life, complete with actionable DIY tips, creative variations, and material lists to ensure your celebration is an absolute masterpiece.
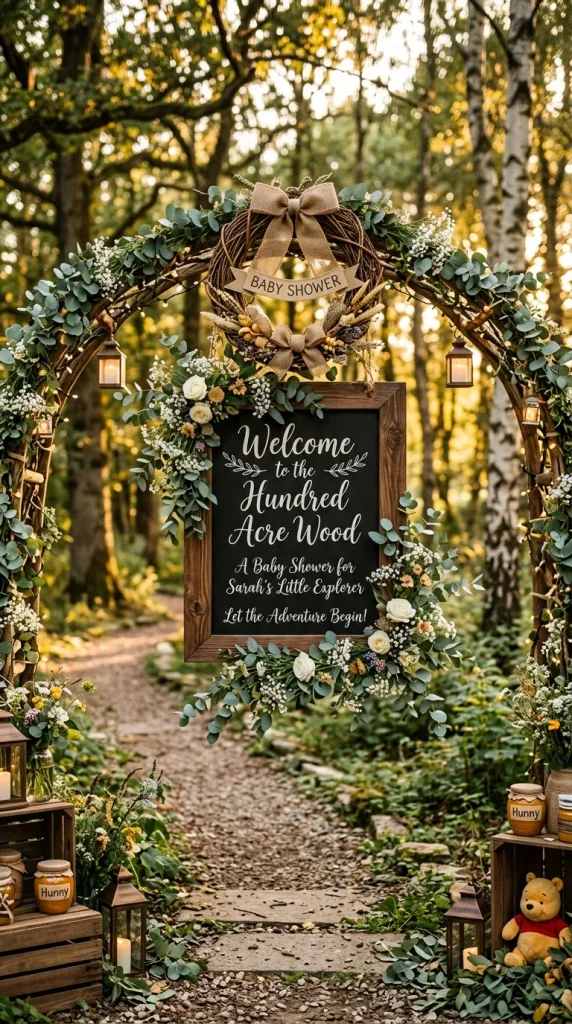
1. Storybook Welcome Entrance Set the magical tone right at the front door by transforming the entrance into a literal gateway to the Hundred Acre Wood. Position a rustic wooden chalkboard sign framed with sprawling eucalyptus branches and delicate baby’s breath, painted with the greeting: “Welcome to the Hundred Acre Wood – [Baby’s Name]’s Baby Shower.” Hang a vintage wreath made of woven twigs adorned with a burlap ribbon and a small wooden honey dipper.
- DIY Tips: Use an old, thrifted wooden window frame or a standing chalkboard. Write the message in a graceful calligraphy script using chalk markers.
- Variations: Instead of a chalkboard, use an oversized vintage storybook opened to the title page, propped up on an antique easel with floral accents spilling over the pages.
- Materials Needed: Wooden chalkboard, eucalyptus stems, baby’s breath, burlap ribbon, miniature wooden honey dippers, chalk markers.
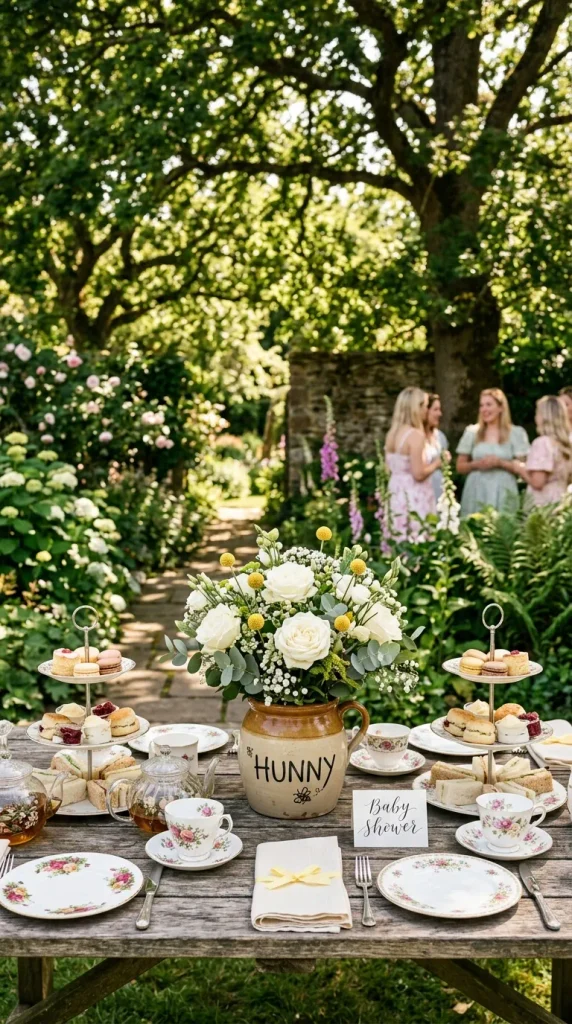
2. Hunny Pot Floral Centerpieces Ditch traditional, overly polished glass vases in favor of ceramic or terracotta pots labeled “HUNNY” in a bold, hand-painted vintage font. Fill these pots with lush, organic floral arrangements featuring white garden roses, chamomile, yellow craspedia (billy balls), and sprigs of dusty miller. The contrast between the rustic pot and the sophisticated florals creates an effortlessly chic aesthetic.
- DIY Tips: Purchase plain mini terracotta pots or ceramic crocks, paint them a warm buttery cream, and use a black stencil or sharpie to write “HUNNY” horizontally with the classic misspelling.
- Variations: Wrap the rim of each pot with a thick strand of natural jute twine tied into a neat bow, suspending a small wooden honey dipper from the knot.
- Materials Needed: Ceramic mini pots, cream acrylic paint, black paint pen, white garden roses, chamomile stems, billy balls, jute twine, honey dippers.
3. Vintage Balloon Cloud Arch Create a breathtaking photo backdrop using a muted, matte balloon arch that mimics a drifting cloud over the Hundred Acre Wood. Stick strictly to a sophisticated color palette: matte cream, soft sand, muted sage green, and brushed metallic gold chrome. Weave faux eucalyptus vines and oversized paper butterflies throughout the arch to add texture and an organic, whimsical feel.
- DIY Tips: Use a balloon strip tape and a mix of double-stuffed balloons (layering a darker balloon inside a lighter one) to achieve that opaque, high-end matte finish rather than a shiny, plastic look.
- Variations: Suspend a large, vintage-style wicker hot air basket underneath the balloon installation, filled with plush classic Pooh toys and wrapped gifts for a stunning photo op.
- Materials Needed: Balloon strip, electric pump, matte cream/sand/sage balloons, gold chrome balloons, faux eucalyptus garland, fishing wire, command hooks.
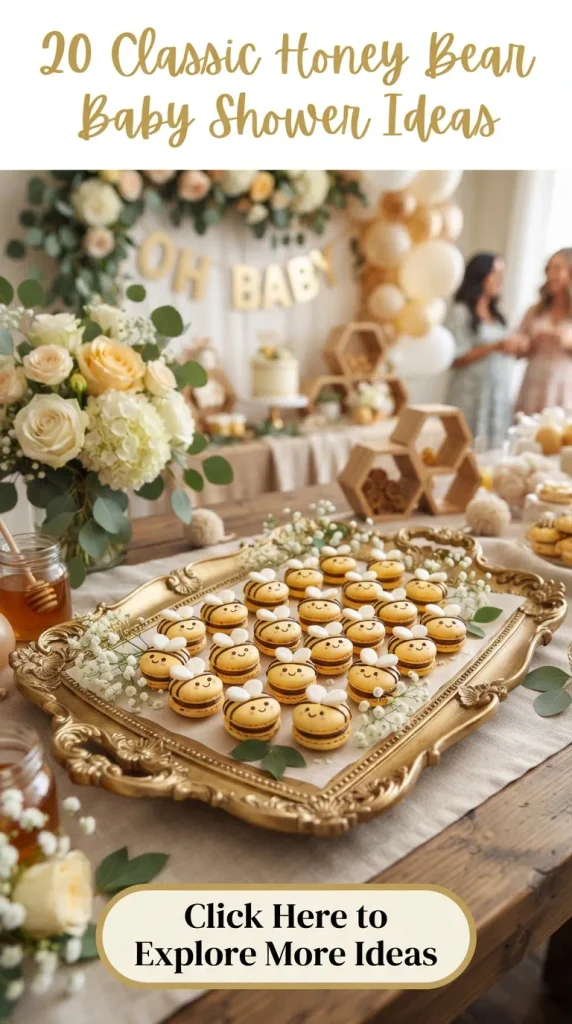
4. The “A Little Hunny is on the Way” Dessert Table The dessert table serves as the visual anchor of the entire celebration. Drape a long table in natural linen or crinkled cheesecloth fabric. Feature a tiered white fondant cake adorned with edible sugar art of Pooh and Piglet sitting under a tree, surrounded by miniature honey jar cupcakes, lemon macarons, and shortbread cookies shaped like honeybees and tigger stripes.
- DIY Tips: Elevate different desserts using wooden crates turned upside down and covered with linen cloths to create visual depth and varying heights on the table.
- Variations: Incorporate a rustic wooden pegboard backdrop behind the table decorated with fresh greenery and a custom acrylic sign reading “A Little Hunny” in gold mirror finish.
- Materials Needed: Linen table runner, wooden display crates, cake stand, custom signage, themed dessert toppers, cake knife set.
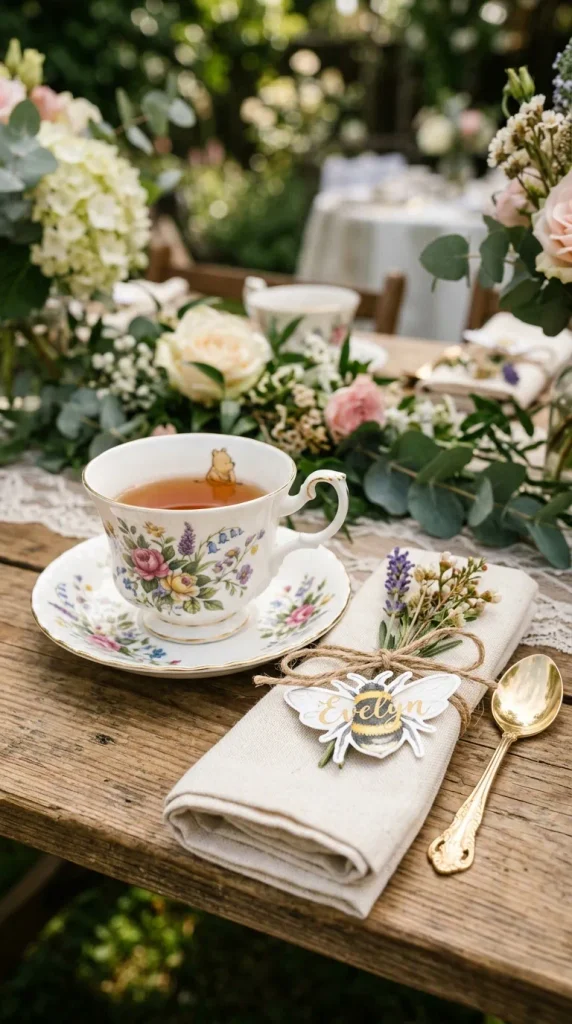
5. Christopher Robin Tea Party Setup Channel an English garden tea party aesthetic for the seating arrangements. Use mismatched vintage floral porcelain teacups, saucers, and tiered pastry stands. Serve delicate finger sandwiches—such as cucumber and dill cream cheese, smoked salmon, and egg salad—alongside warm scones served with clotted cream and local wildflower honey.
- DIY Tips: Source vintage teacups affordably from local thrift stores or flea markets; the mismatched patterns actually enhance the eclectic, charming storybook aesthetic.
- Variations: Set up individual mini teapots at each table setting so guests can brew their own loose-leaf chamomile or Earl Grey tea throughout the meal.
- Materials Needed: Vintage teacups and saucers, tiered dessert trays, linen napkins, porcelain teapots, gold teaspoons, fresh loose-leaf tea.
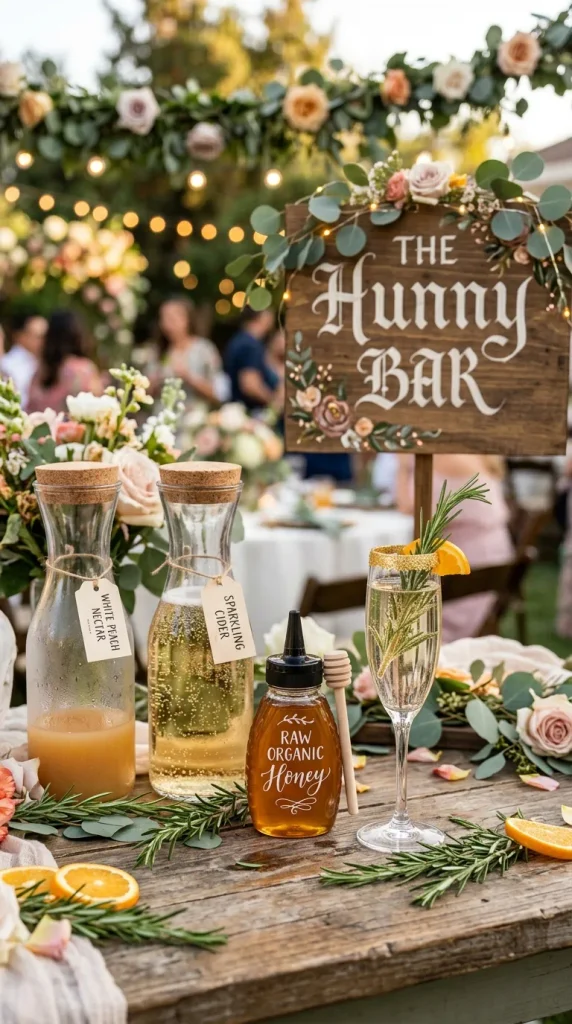
6. Pooh Corner Mimosa & Honey Bar Design an interactive beverage station labeled “Pooh’s Hunny Bar.” Offer a selection of chilled sparkling cider and champagne alongside artisanal juices: freshly squeezed orange juice, white peach nectar, and ruby red grapefruit juice. Provide glass carafes adorned with cute tags and a centerpiece squeeze bottle of organic raw honey for guests to rim their champagne flutes.
- DIY Tips: Set out small bowls of edible gold glitter, fresh rosemary sprigs, and lemon wheels so guests can garnish their artisanal mimosas creatively.
- Variations: Create a non-alcoholic “Tigger’s Bounce” punch station featuring ginger ale, pineapple juice, and passion fruit puree for expecting mothers and younger guests.
- Materials Needed: Glass drink dispensers, champagne flutes, decorative wooden trays, glass carafes, honey dispensers, fresh garnishes, custom menu sign.
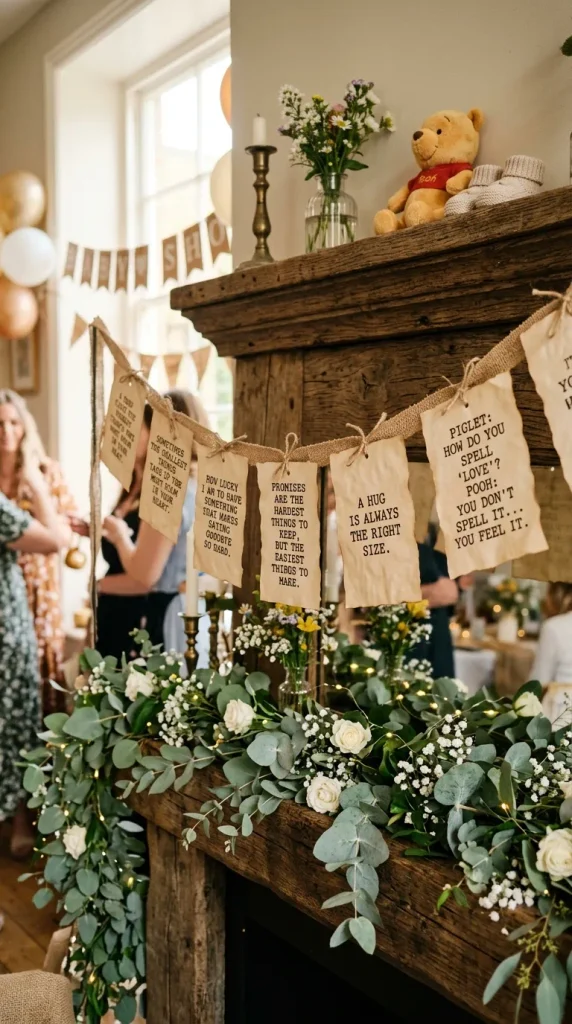
7. “Winnie the Pooh” Quote Quote Garland Incorporate the heartwarming, poetic wisdom of A.A. Milne throughout the venue by hanging delicate paper quote garlands. Print famous quotes on heavy cardstock paper styled to look like aged parchment, then string them along burlap twine across mantels, windows, or the gift table.
- DIY Tips: Use strong tea bags to stain white cardstock paper, letting it dry completely before printing the quotes in a classic typewriter or serif font for an authentic vintage feel.
- Variations: Tie the quote cards to helium-filled latex balloons floating gently near the ceiling corners with long curling ribbons trailing down.
- Materials Needed: Parchment cardstock, strong brewed black tea, burlap twine, hole punch, mini wooden clothespins.
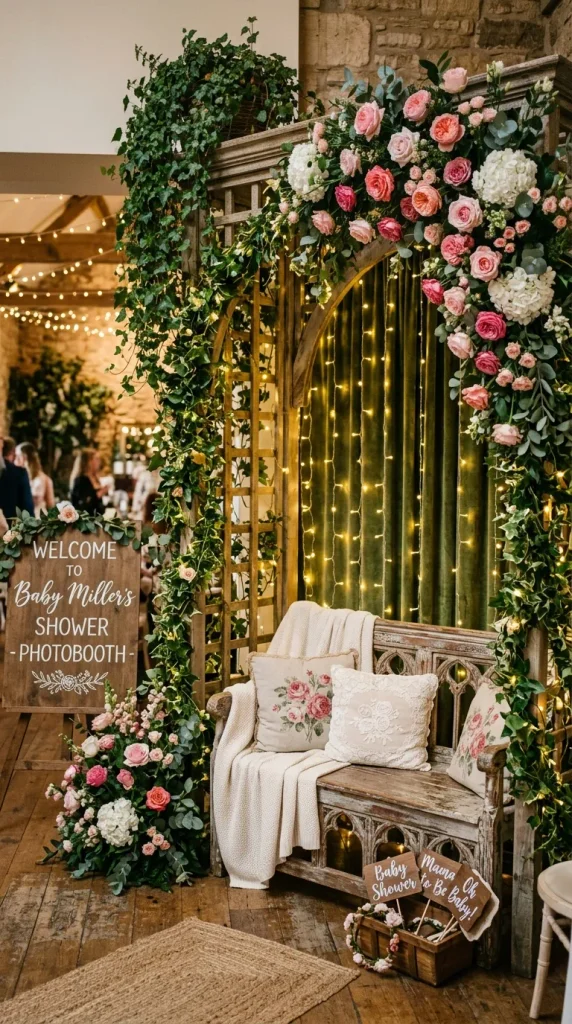
8. Piglet’s Pink & Sage Floral Photobooth Design an immersive photo area where guests can capture memories with the mom-to-be. Construct a rustic wooden trellis backdrop covered in lush climbing ivy, delicate pink garden roses, and white hydrangeas. Provide high-quality props on wooden sticks, such as classic honey pots, Eeyore’s tail with a pin, Tigger ears, and speech bubbles featuring famous Pooh quotes.
- DIY Tips: Hang a neon sign or a warm LED fairy light curtain behind the floral trellis to ensure the lighting creates a soft, ethereal glow in all photographs.
- Variations: Use a vintage wooden bench or a distressed rocking chair positioned in front of the floral wall for guests to sit comfortably while posing.
- Materials Needed: Wooden trellis frame, faux ivy rolls, fresh or silk floral stems, photo props on wooden sticks, ring light or professional softbox lighting.
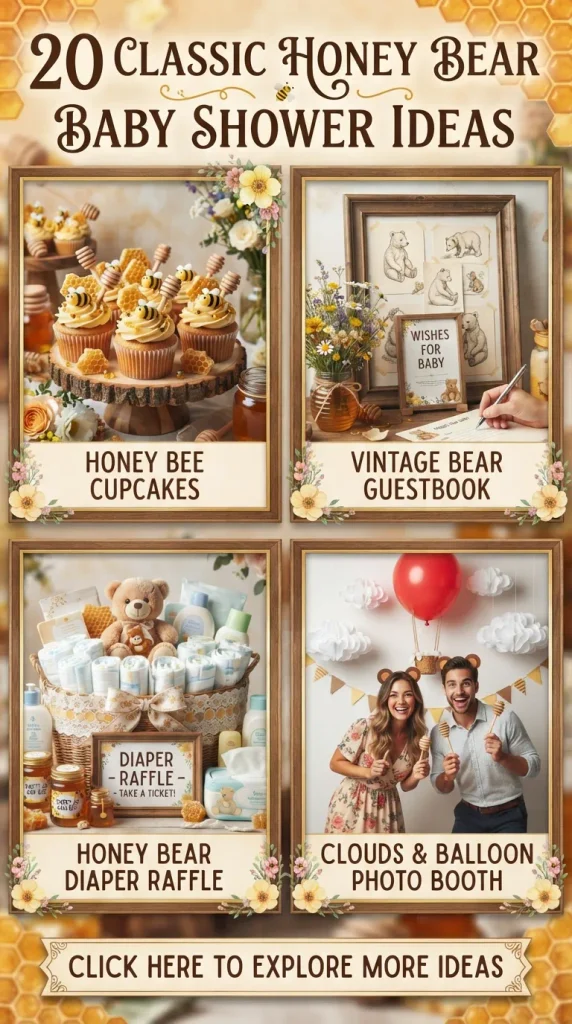
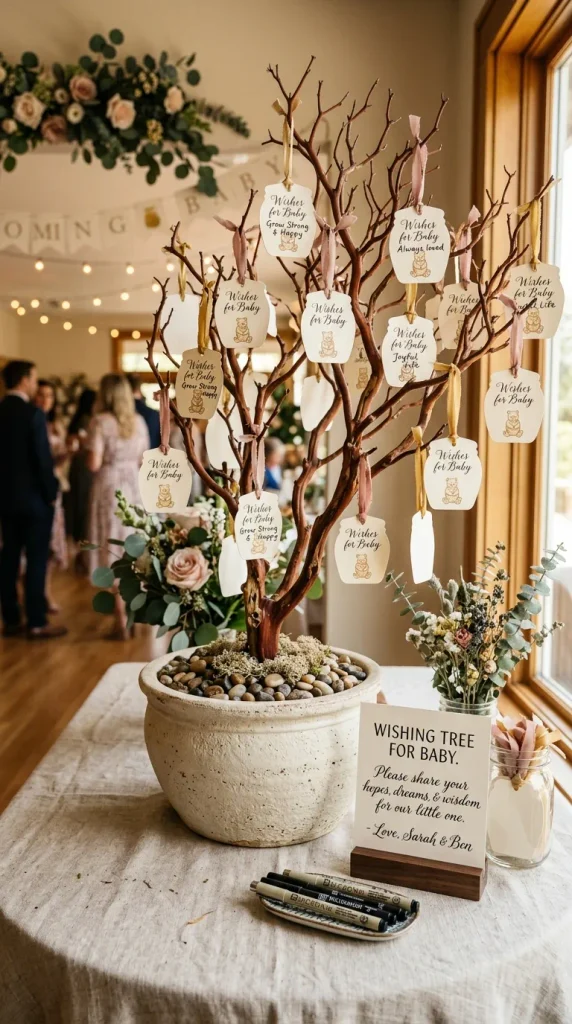
9. “Hooray for Baby” Wishing Tree Replace a traditional guest book with an interactive, living wishing tree. Place a large, elegant manzanita branch or a potted white-blossom tree inside a heavy ceramic pot filled with stones. Provide custom gift tags shaped like classic honey pots or bumblebees where guests can write their heartfelt wishes, parenting advice, and blessings for the baby, hanging them from the branches with silk ribbon.
- DIY Tips: Pre-punch the tags and tie a pre-cut length of thin silk ribbon to each one so guests don’t struggle with assembly during the busy mingling hour.
- Variations: Set up a vintage typewriter nearby where guests can type their short wishes directly onto small slips of paper before pinning them to a corkboard map of the Hundred Acre Wood.
- Materials Needed: Manzanita branches or flowering tree, heavy ceramic pot, decorative stones, custom honey pot paper tags, silk ribbon, fine-tip archival pens.
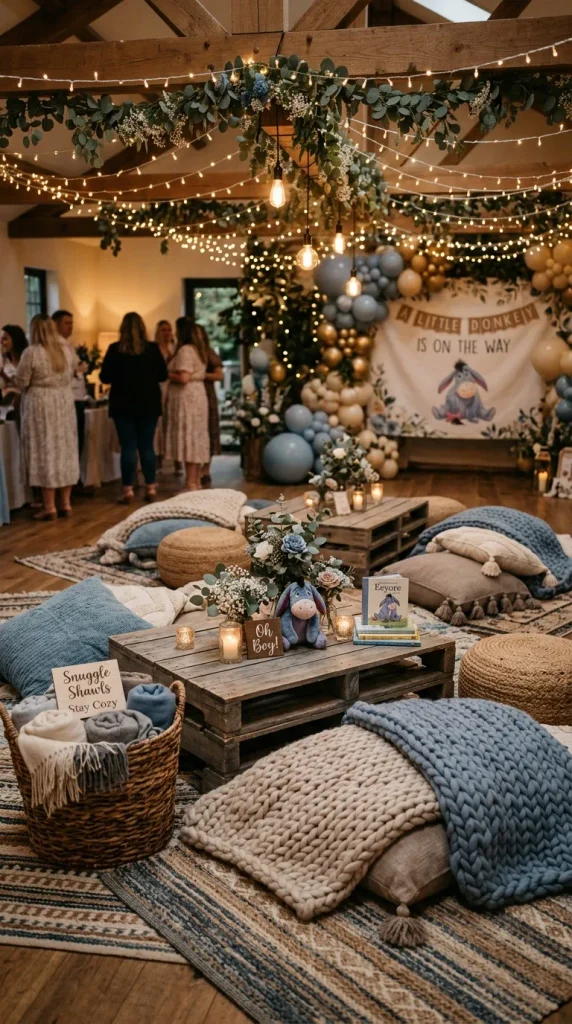
10. Eeyore’s Cozy Nook Lounge Area Create a comfortable, relaxed lounge corner for the mom-to-be and guests who want to sit, chat, and open gifts away from the main bustle. Style a low wooden pallet coffee table surrounded by plush floor cushions, woven poufs, and oversized knit blankets in soothing shades of dusty blue, oatmeal, and sage green.
- DIY Tips: Layer Moroccan or jute rugs on the floor beneath the seating area to ground the space and make it feel exceptionally cozy and inviting.
- Variations: Place a basket of soft cashmere shawls labeled “In case there’s a sprinkle” next to the lounge area for guests to use if the venue gets chilly.
- Materials Needed: Wooden pallets, floor cushions, woven poufs, knit throw blankets, jute rugs, low coffee table, decorative scatter pillows.
11. Honeycomb and Beehive Balloon Drops Bring a whimsical architectural element to the ceiling décor by incorporating paper honeycomb balls and custom honeycomb-textured hanging lanterns. Suspend them at varying heights above the main seating and gift areas to mimic floating beehives hanging gently from the branches of the Hundred Acre Wood.
- DIY Tips: Use clear fishing line and ceiling clips to hang the honeycomb balls securely without damaging the venue’s paint or architecture.
- Variations: Mix in warm fairy-light spheres amongst the honeycomb lanterns to cast a magical, honey-glow ambiance as the afternoon transitions into evening.
- Materials Needed: Paper honeycomb balls in cream, yellow, and gold; hanging lanterns; clear fishing line; ceiling adhesive hooks.
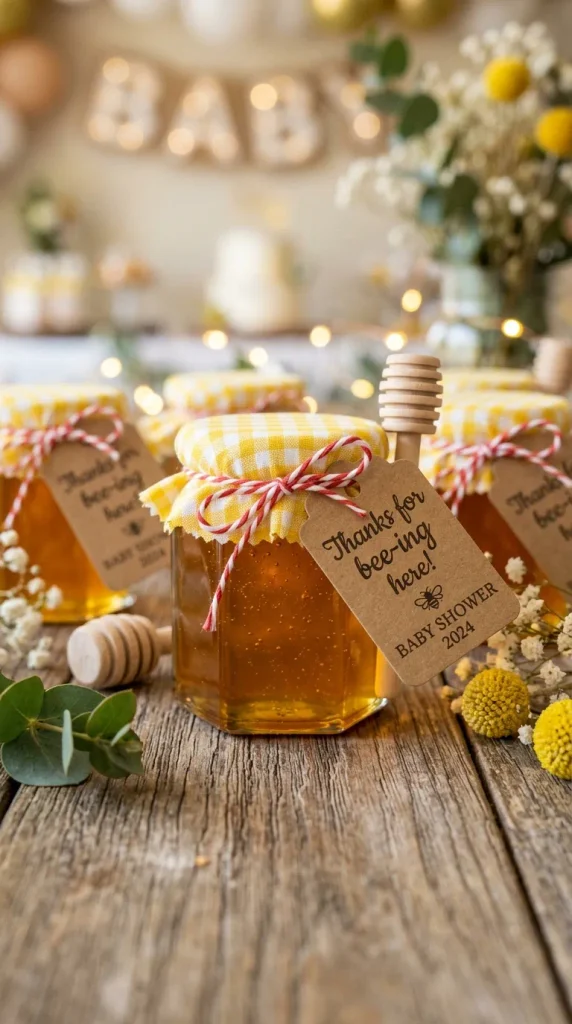
12. Tigger’s Bounce-Worthy Favors Send your guests home with a delightful, functional token of appreciation that ties seamlessly into the theme. Fill miniature glass hexagon honey jars with local raw wildflower honey, sealing them with a square of gingham fabric tied securely with twine and a custom tag reading: “Thanks for ‘bee-ing’ here! A little something sweet for you to eat.”
- DIY Tips: Buy honey in bulk to save costs, and use a small funnel to fill the mini jars efficiently without sticky spills along the rims.
- Variations: Package organic wildflower seed packets labeled “Help us plant a garden for baby’s future” alongside a custom-stamped cotton bag of honey-scented bath salts.
- Materials Needed: Mini hexagon glass jars, raw honey, yellow/white gingham fabric squares, baker’s twine, custom printed favor tags, funnel.
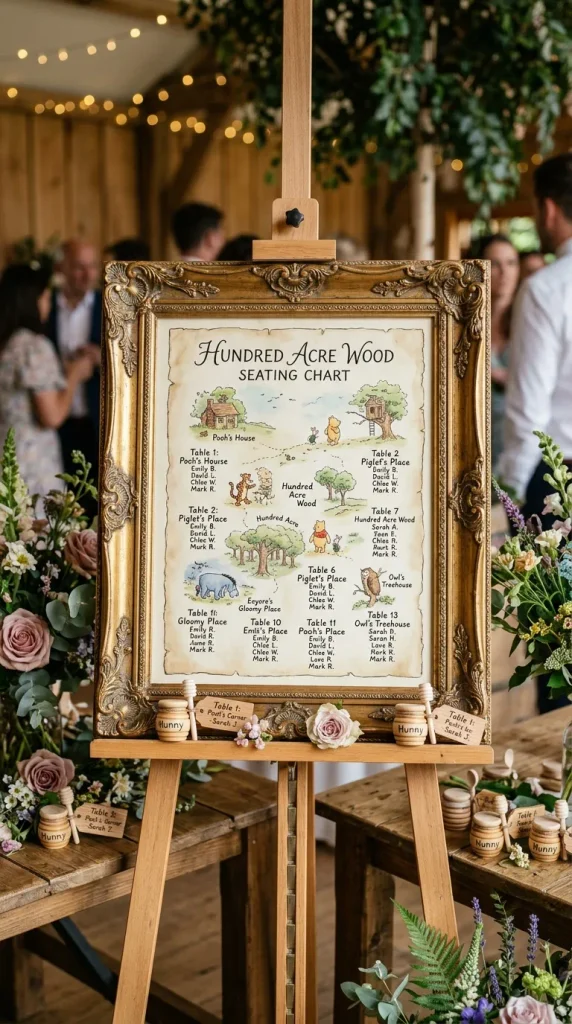
13. “Hundred Acre Wood” Map Table Seating Chart Guide your guests to their respective tables using a beautifully illustrated, vintage-style map of the Hundred Acre Wood. Frame an oversized canvas print of the map on an ornate gold vintage frame, and use miniature wooden honey pots with name cards to designate specific zones like “Owl’s House,” “Rabbit’s Garden,” and “Pooh’s Thoughtful Spot.”
- DIY Tips: Commission a digital artist or find a high-resolution printable vintage map online, printing it on heavy textured canvas paper to give it an authentic, antique oil-painting finish.
- Variations: Write guest names directly onto vintage book pages folded into origami envelopes and pinned to the map using gold pushpins.
- Materials Needed: Large vintage map print, ornate frame, easel, custom table cards, miniature wooden tags.
14. Classic Book-Inspired Table Runners Elevate your guest dining tables by replacing standard cloth runners with open vintage copies of classic children’s literature, interspersed with pages gently torn from thrifted books and scattered in organic table runners down the center of each table. Lay delicate glass cylinder vases with floating candles and loose eucalyptus sprigs directly over the book pages.
- DIY Tips: Visit local second-hand bookstores to buy damaged or duplicate children’s classics for very little cost, ensuring you don’t destroy rare or valuable editions.
- Variations: Wrap the base of each candle cylinder with a strip of burlap lace and secure it with a tiny dab of hot glue for added vintage texture.
- Materials Needed: Old storybooks, glass cylinder vases, floating candles, eucalyptus leaves, matches, burlap lace trim.
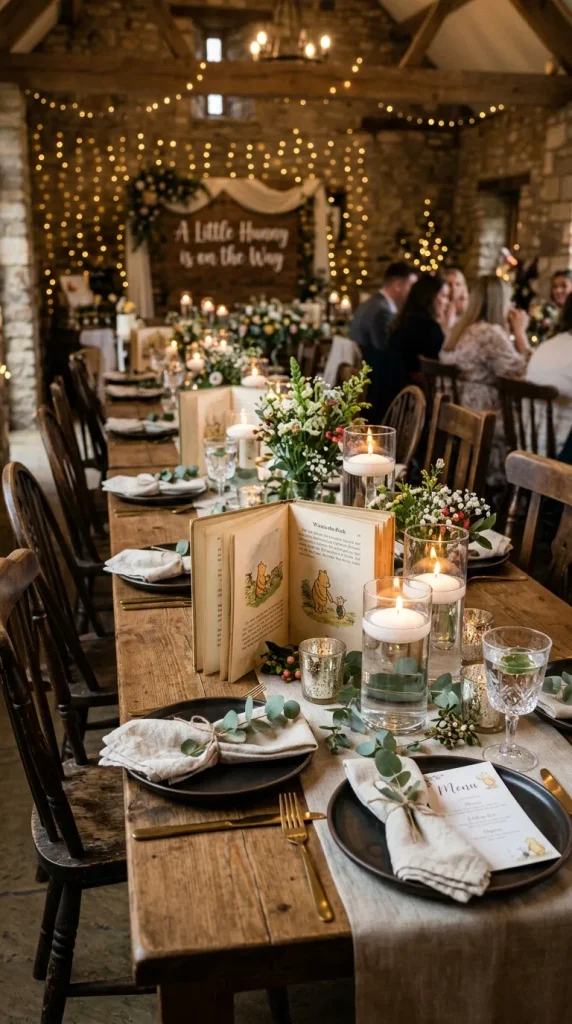
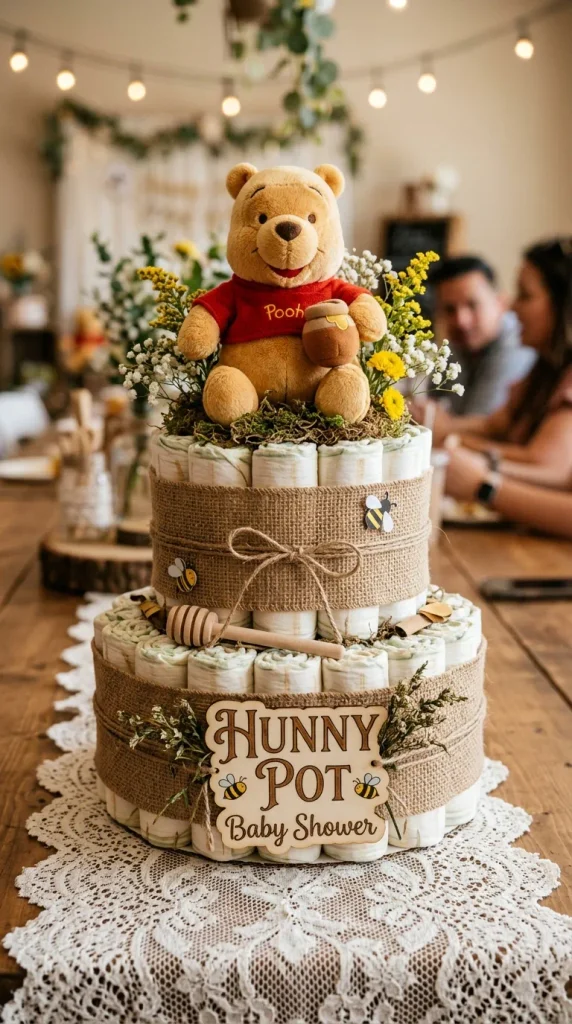
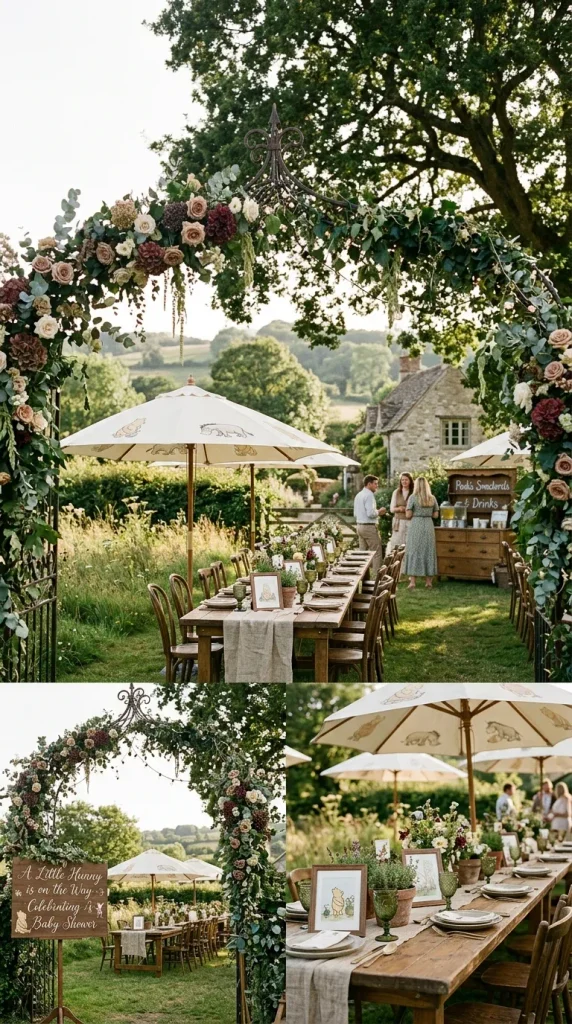
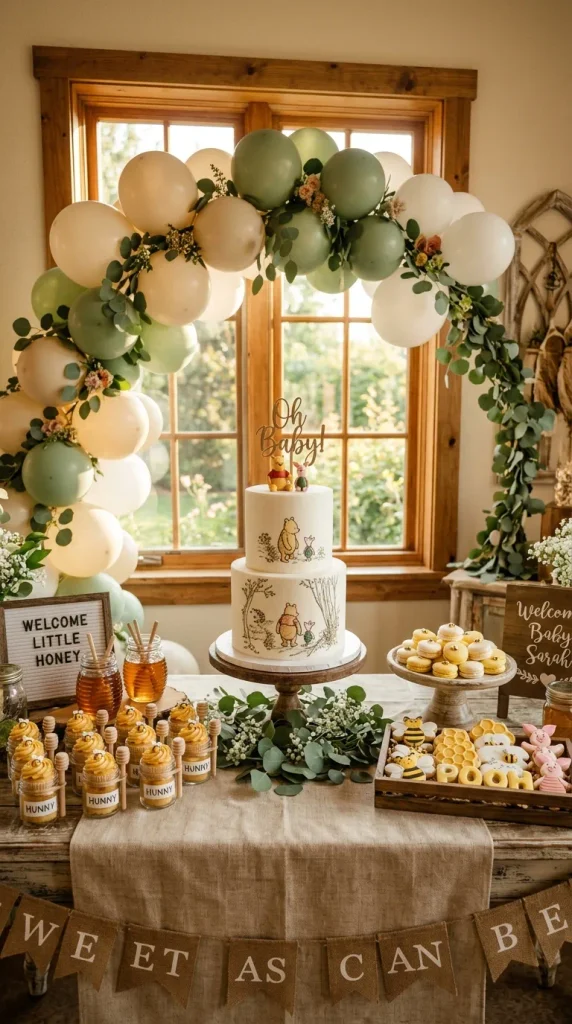
15. “Hunny Pot” Diaper Cake Centerpiece Construct an architectural masterpiece for the gift or food table using diapers as the structural base. Roll organic bamboo diapers tightly, secure them with clear rubber bands, and assemble them into tiered cylinders. Wrap the tiers in burlap ribbon, embellish the front with a large wooden cut-out honey pot, and top the entire structure with a large, ultra-soft plush classic Winnie the Pooh stuffed animal.
- DIY Tips: Secure the center of the diaper cake structure with a sturdy cardboard tube (like a paper towel roll) so the tiers remain stable and won’t wobble or collapse.
- Variations: Tuck miniature baby essentials—such as organic baby lotion, wooden hairbrushes, and cotton washcloths—into the folds of the tiers as functional surprises for the mom-to-be.
- Materials Needed: Bamboo diapers, rubber bands, burlap ribbon, cardboard tube, wooden honey pot cutout, plush Pooh bear, hot glue gun.
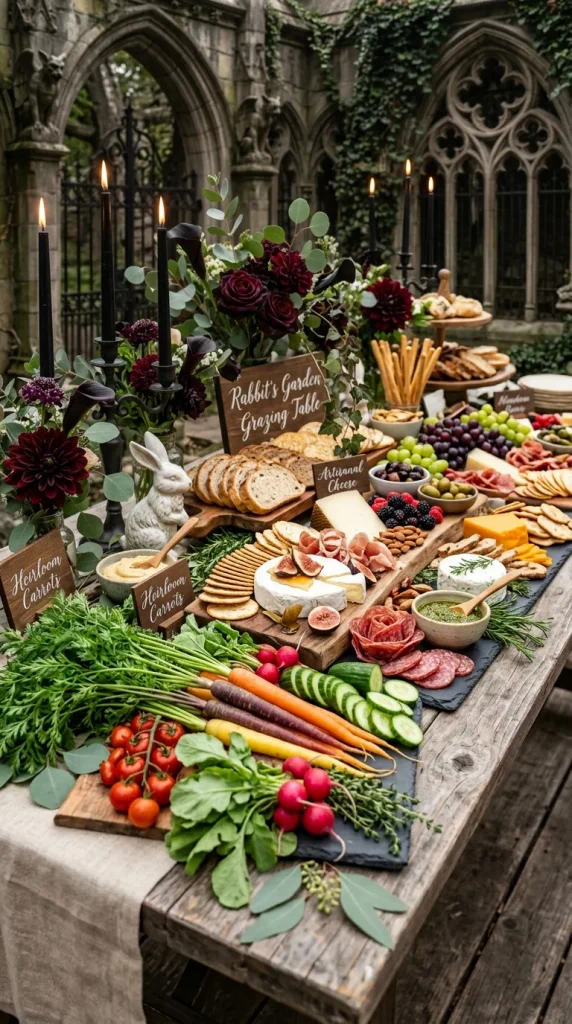
16. Rabbit’s Garden Crudité and Grazing Table Honor Rabbit’s love for fresh garden vegetables by setting up a stunning, abundant grazing table styled like an upscale farmer’s market. Arrange fresh heirloom carrots with their leafy green tops intact, radishes, cucumbers, cherry tomatoes, and snap peas in woven wicker baskets alongside artisanal cheeses, crackers, grapes, and dips served in hollowed-out artisan bread bowls.
- DIY Tips: Use rustic wooden cutting boards and slate platters of varying heights to create a natural, cascading flow of food that looks like an edible work of art.
- Variations: Include mini wooden signs labeled with cute puns, such as “Rabbit’s Fresh Harvest” and “Kanga’s Crunchy Bites,” to add an extra layer of themed charm.
- Materials Needed: Wicker baskets, wooden cutting boards, slate platters, fresh vegetables, artisan cheeses, bread bowls, mini chalk labels.
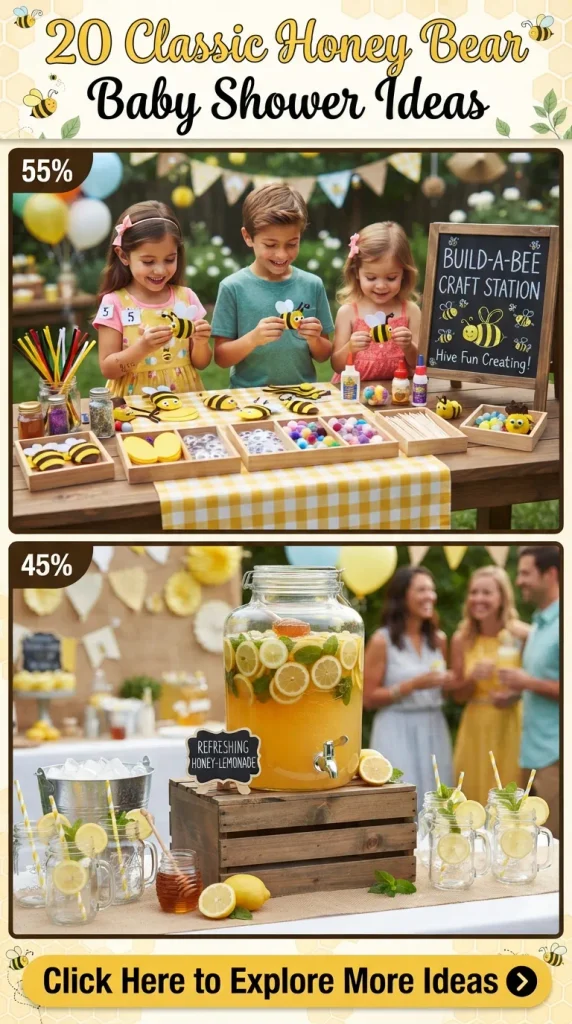
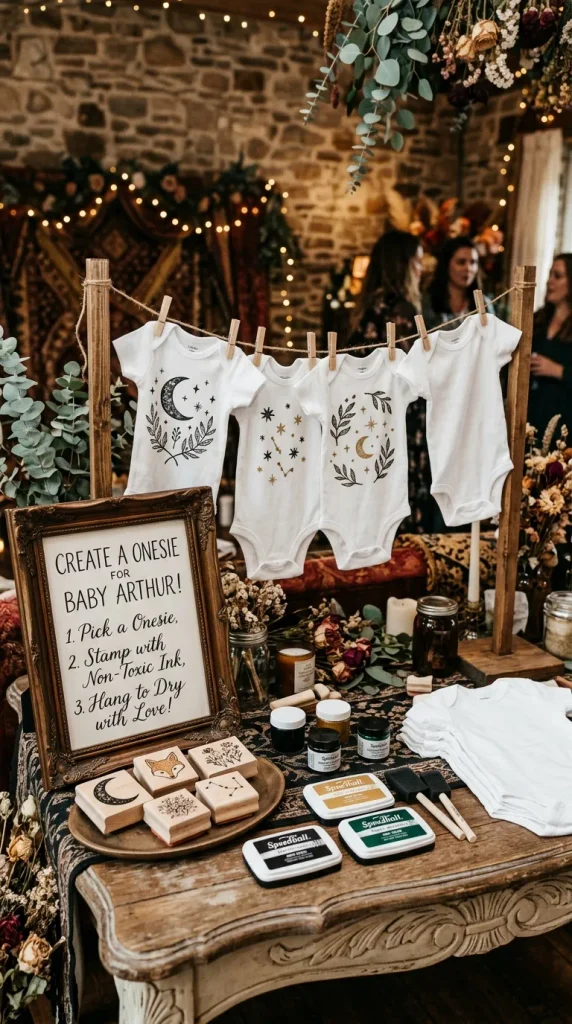
17. “Pooh Bear’s Honey Pot” Craft Activity Keep guests engaged and entertained with a creative keepsake activity where everyone decorates a miniature wooden block or canvas pouch for the baby’s nursery. Provide fabric markers, stamps, and stencils of bees, honey pots, and gentle quotes so guests can stamp personalized messages onto organic cotton burp cloths or onesies hung on a mini wooden clothesline.
- DIY Tips: Set up an instruction frame clearly explaining the steps so guests can participate at their own leisure during the open-mingling phase of the shower.
- Variations: Provide blank wooden blocks where guests can paint letters of the alphabet using non-toxic pastel acrylic paints to create a handmade baby alphabet block set.
- Materials Needed: Plain cotton onesies or burp cloths, fabric stamps, non-toxic fabric ink pads, mini clothesline, wooden clothespins, instruction sign.
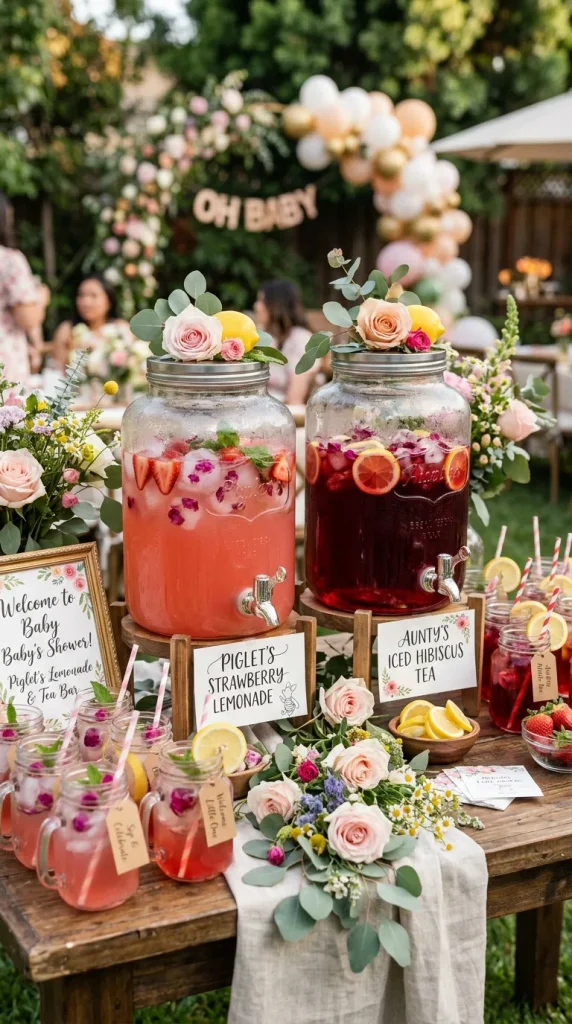
18. Piglet’s Pink Lemonade & Tea Station Add a refreshing, feminine twist to the beverage offerings with a dedicated lemonade station styled in soft pastel pinks. Serve classic strawberry lemonade and iced hibiscus tea in vintage glass beverage dispensers with spouts. Provide mason jars with handled grips, striped paper straws, and fresh lemon wheels floating on top.
- DIY Tips: Freeze edible rose petals or fresh raspberries inside the ice cubes before the party so they release color and visual flair as the ice slowly melts in the dispensers.
- Variations: Rim the mason jars with crushed pink sugar crystals mixed with edible gold dust for an extra touch of celebratory glamour.
- Materials Needed: Glass drink dispensers, mason jars with handles, striped paper straws, fresh lemons, strawberries, edible rose petals, pink sugar.
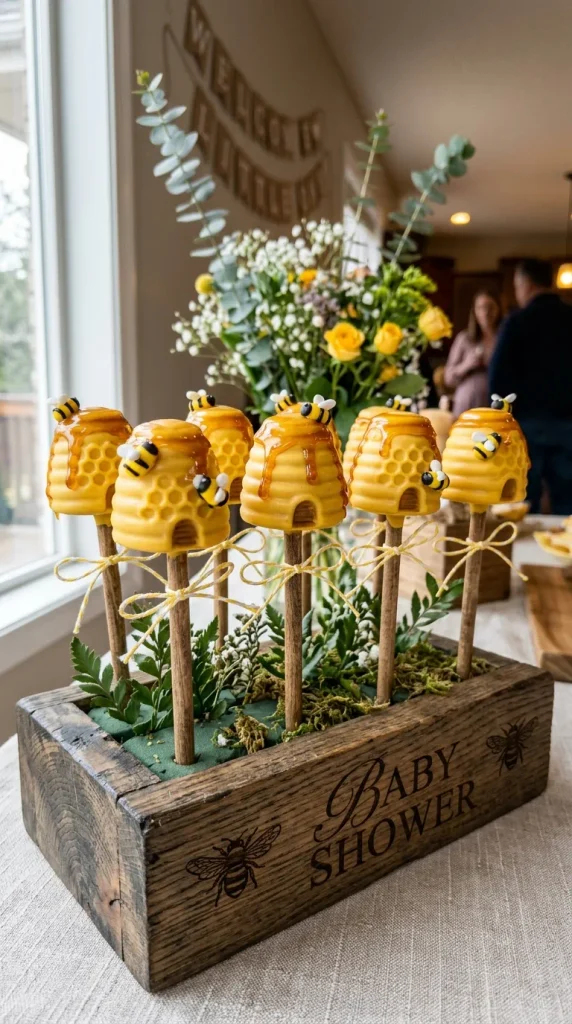
19. Pooh’s Honeycomb Cake Pops & Sweet Treats Incorporate bite-sized luxury desserts that double as table decor. Order or bake cake pops shaped like miniature golden honey pots dipped in yellow candy melts, drizzled with yellow icing to resemble dripping honey, and topped with a tiny edible sugar bumblebee. Arrange them upright in a block of floral foam hidden inside a rustic wooden box.
- DIY Tips: Dip the lollipop sticks into melted candy before pushing them into the cake balls to anchor them securely so they don’t slide down or fall off during display.
- Variations: Create honeycomb-patterned sugar cookies using a textured rolling mat and paint the hexagonal indentations delicately with edible gold luster dust.
- Materials Needed: Cake pops, yellow candy melts, edible sugar bees, lollipop sticks, floral foam block, rustic wooden display box.
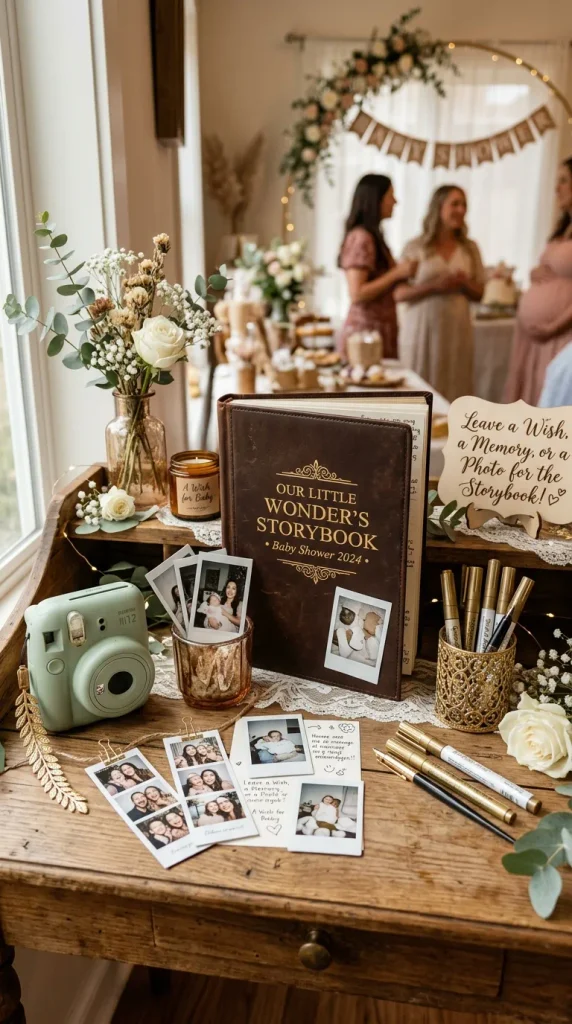
20. Storybook Memory Book Station Create a quiet, reflective corner dedicated to capturing long-term wisdom for the newborn. Set up a gorgeous vintage leather-bound journal titled “[Baby’s Name]’s Hundred Acre Wood Adventures.” Provide fine-line gold pens, vintage photo corners, and instant Polaroid cameras so guests can snap a quick selfie with the mom-to-be, paste it into the book, and write a touching note beside it.
- DIY Tips: Assign a trusted friend or family member to manage the Polaroid camera and remind arriving guests to take a quick snapshot for the memory book before heading to their seats.
- Variations: Leave out stamp pads and ink markers so guests can stamp their thumbprints onto a branch painting to create a “Tree of fingerprints” family forest keepsake.
- Materials Needed: Vintage leather journal, Polaroid cameras, film packs, gold metallic pens, photo corners, instruction sign.
More ideas to come in future addition!