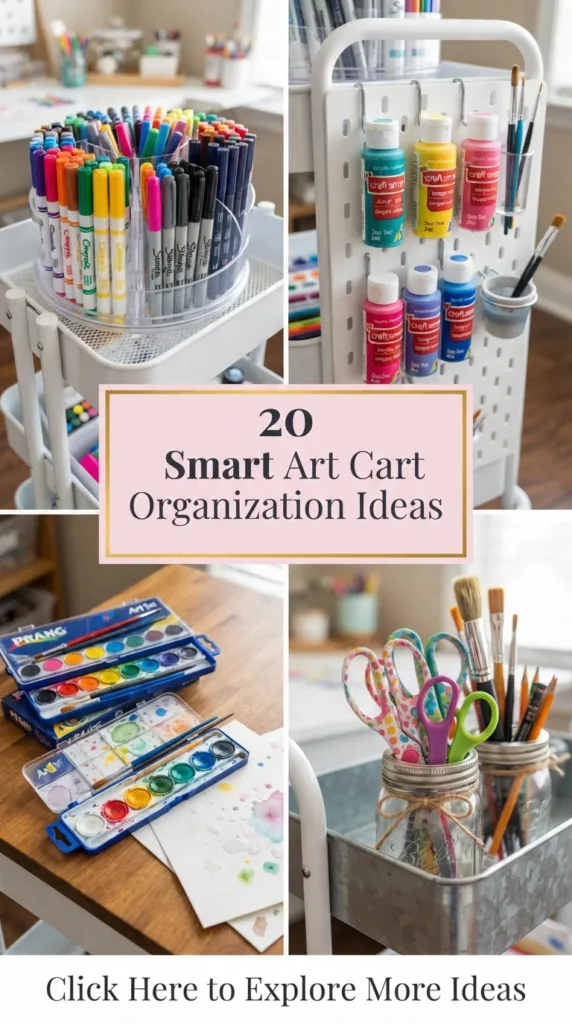
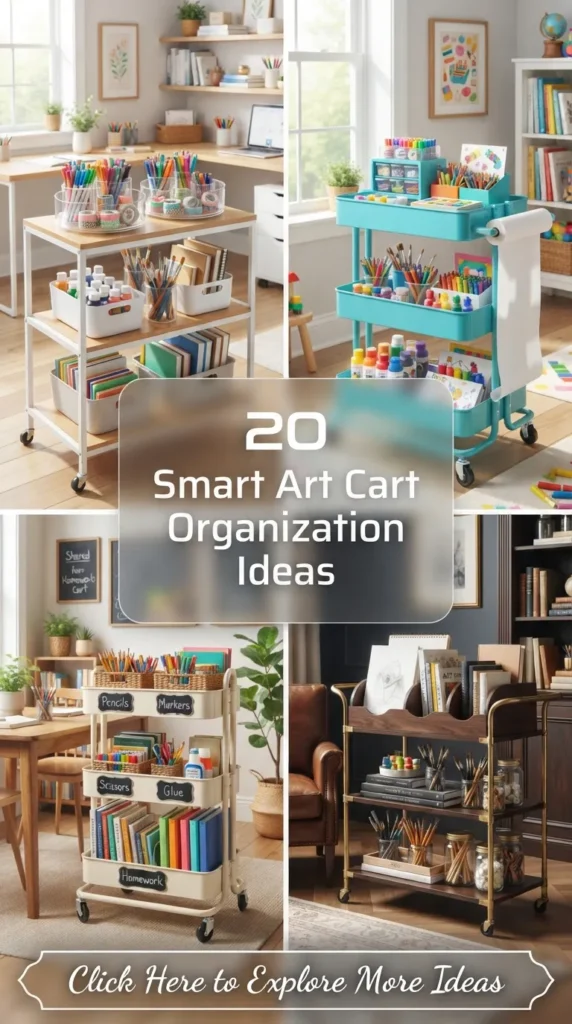
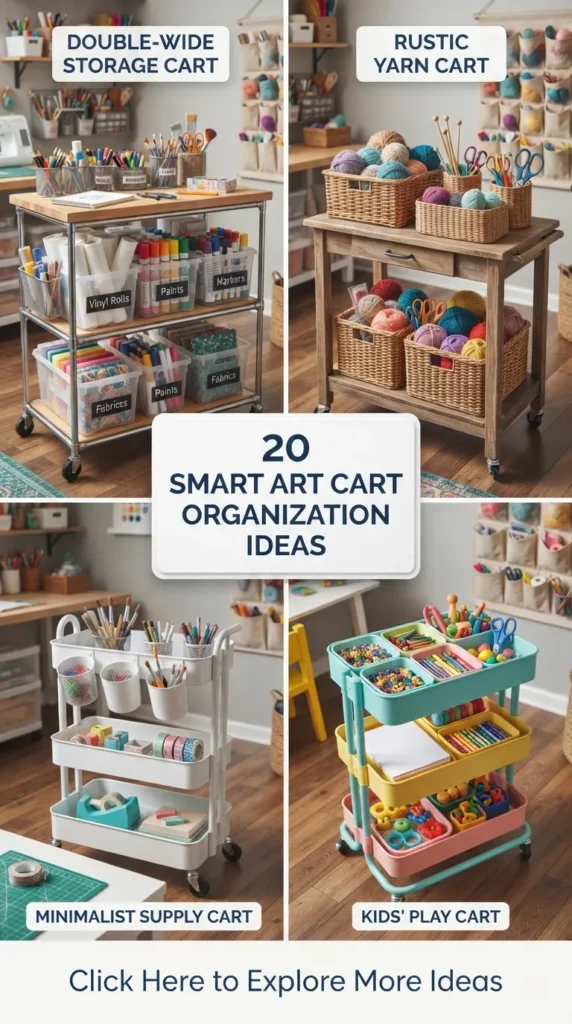
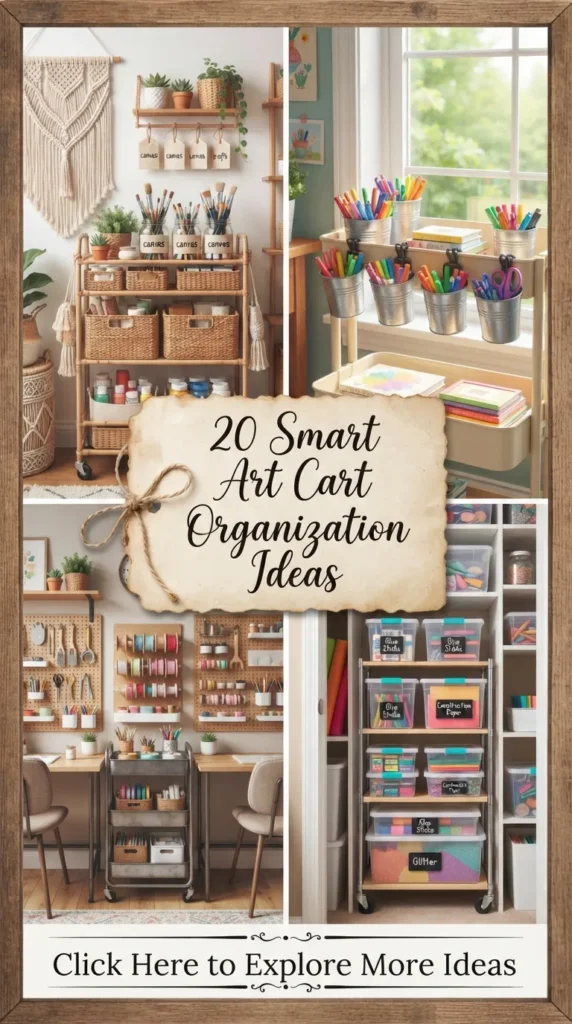
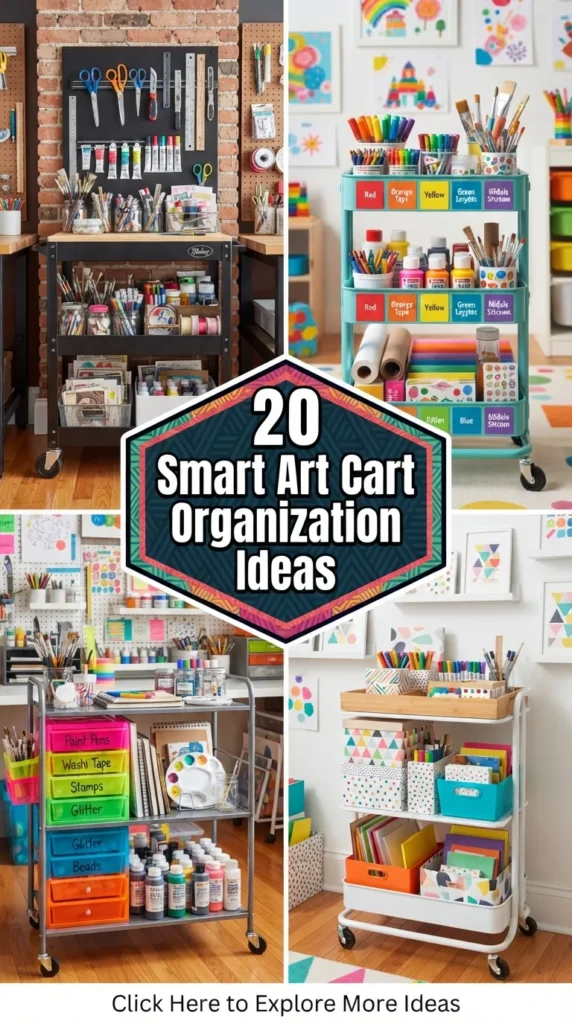
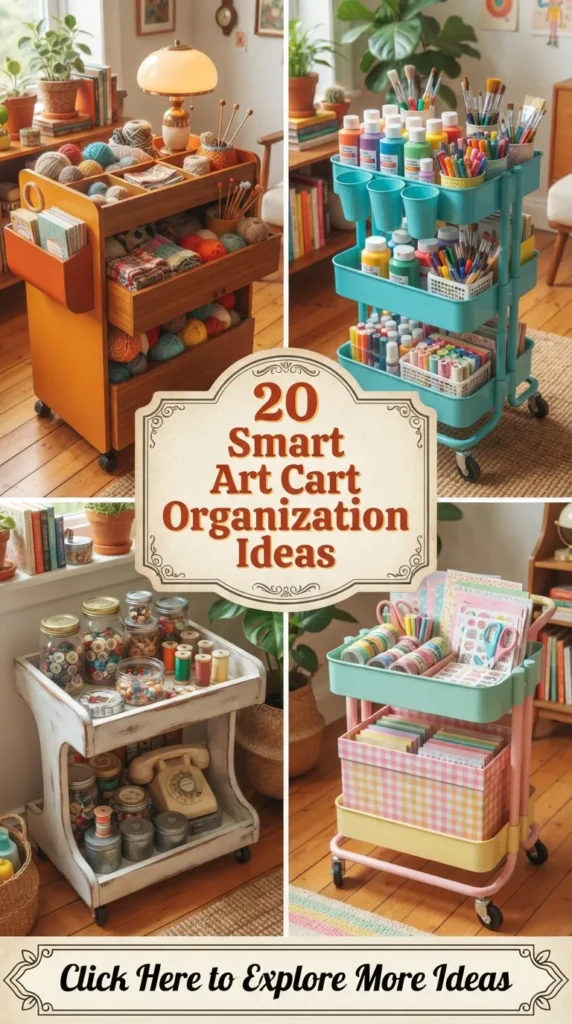
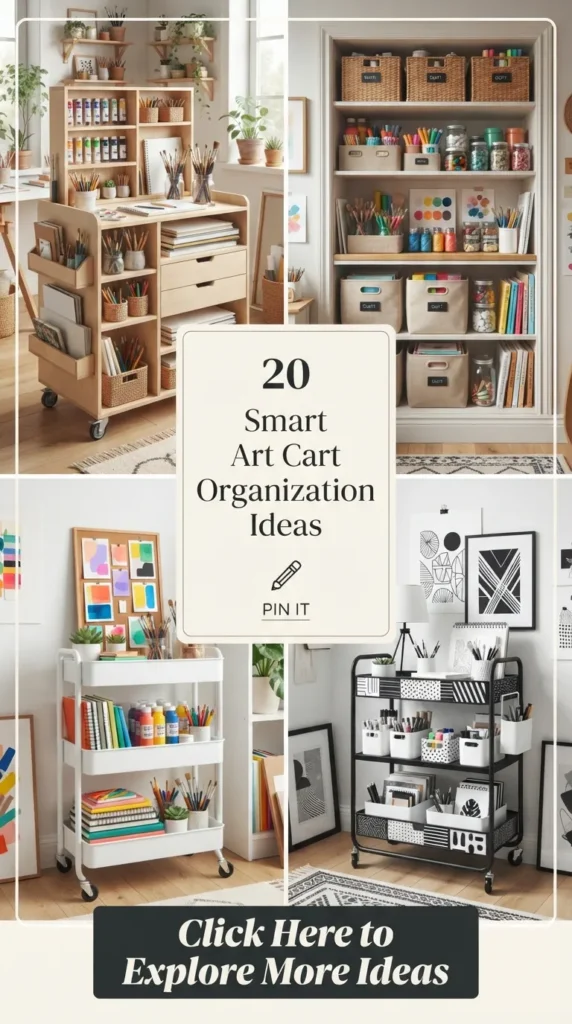
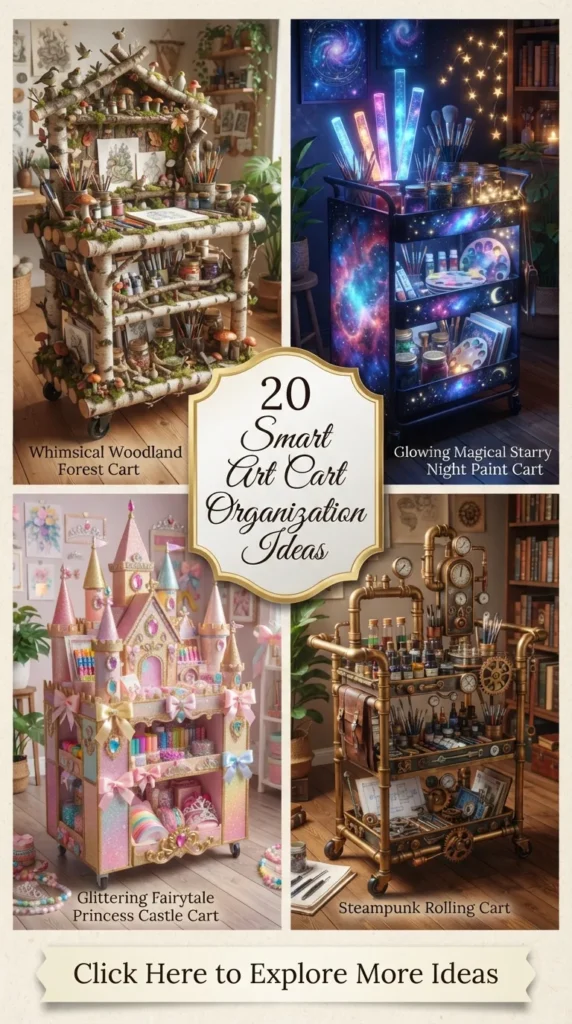
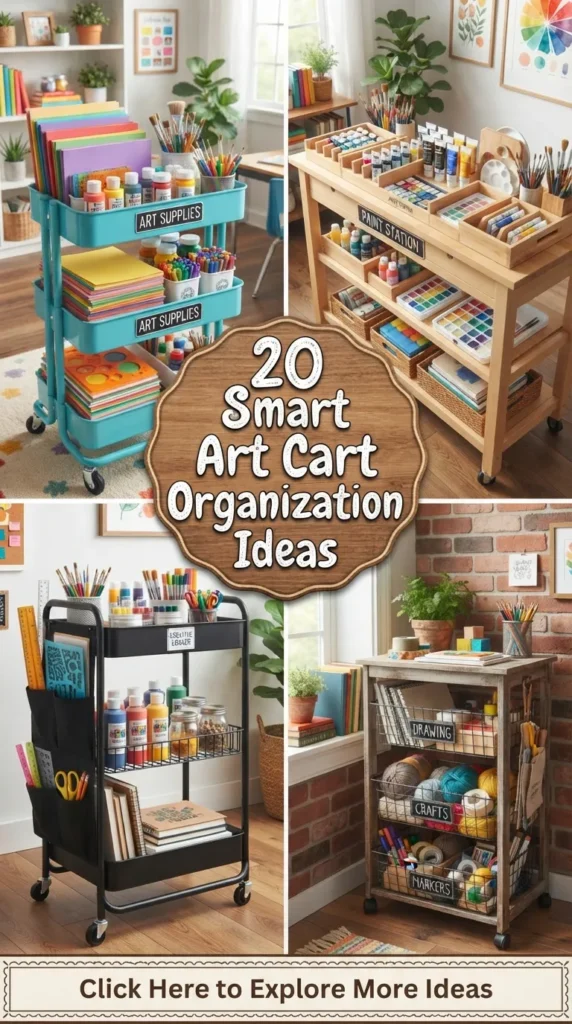
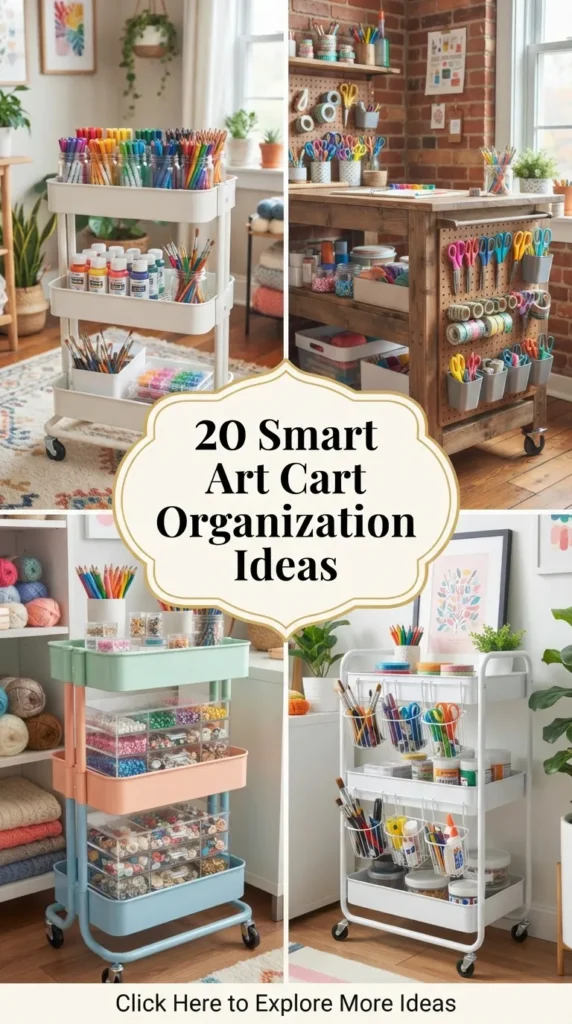
Whether you are an avid crafter, a professional artist, or a parent organizing creative supplies for kids, an art cart is one of the most versatile and functional organization systems you can bring into your home. Rolling art carts transform chaotic piles of paint tubes, sketchbook stacks, and loose markers into a mobile, beautifully structured creative station that glides effortlessly wherever inspiration strikes.
By utilizing vertical tiering, modular bins, hanging accessories, and specialized dividers, a simple utility cart can be tailored to meet your exact creative workflow. In this guide to 20 Amazing & Inspiring Smart Art Cart Organization Ideas, explore clever, aesthetic, and Pinterest-worthy cart setups designed to maximize space, streamline clutter, and elevate your creative setup.
1. The Pastel Rainbow Spectrum Utility Cart
Introduction
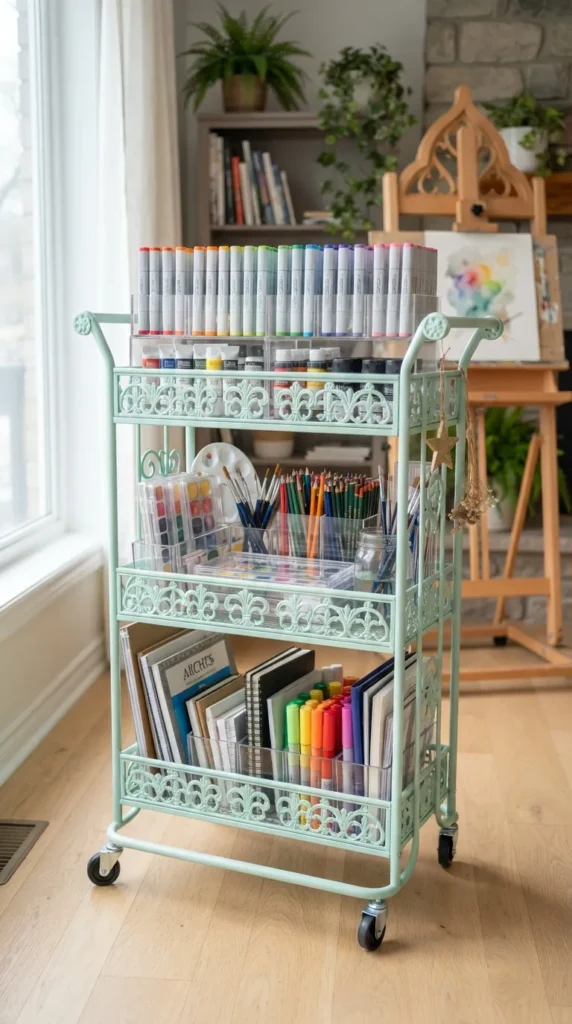
Organizing your art cart strictly by color spectrum creates an instantly recognizable visual order while turning functional supplies into an eye-catching decorative piece in your room.
What This Idea Means
Color-coded organization uses visual hierarchy to make finding tools effortless. Arranging markers, paint bottles, ribbons, and paper stacks in rainbow order (ROYGBIV) creates a high-energy aesthetic that makes cleanup satisfying and intuitive.
Materials Needed
- 3-tier metal rolling utility cart (white or mint green)
- Clear acrylic drawer inserts and dividers
- Supplies sorted strictly by color (red, orange, yellow, green, blue, purple, pink)
- Hanging plastic side cups
- Label maker or color-coded sticker labels
How to Make It
- Assemble a sturdy 3-tier metal utility cart on smooth caster wheels.
- Group all your art supplies—such as acrylic paint bottles, markers, yarn spools, and paper sheets—into distinct color families.
- Top Tier: Place active writing and drawing tools inside clear acrylic cups arranged in chromatic spectrum order from left to right.
- Middle Tier: Store color-grouped paint bottles and tube sets in clear bin dividers.
- Bottom Tier: Stack colored cardstock, felt sheets, and larger supplies matching the color sequence.
Tips and Variations
- Tip: Use clear containers on all tiers so the vibrant color blocks remain visible from every angle.
- Variation: If you prefer a calm, minimalist vibe, apply this same spectrum sorting method using a monochromatic or pastel pastel palette.
2. The Minimalist Birch & White Scandinavian Cart
Introduction
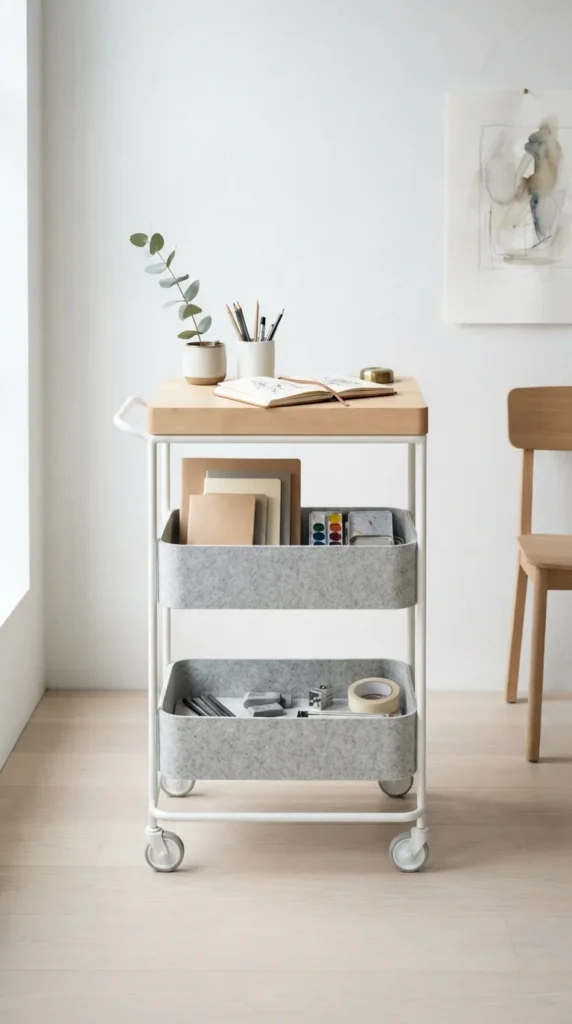
Bring a serene, clutter-free aesthetic to your creative corner with a Scandinavian-inspired art cart that pairs crisp matte white metal surfaces with natural light birch wood accents.
What This Idea Means
Scandinavian design emphasizes functional simplicity, clean lines, and organic textures. This setup focuses on keeping clutter hidden inside sleek wooden boxes and woven felt bins to maintain visual calm.
Materials Needed
- White 3-tier utility cart with a natural wooden top board insert
- Light birch wood box organizers and lids
- Light grey wool felt storage bins
- Matte white pencil cups
- Label maker with minimalist sans-serif font
How to Make It
- Place a fitted solid birch wood cutting board or custom topper over the top rim of the upper tier to serve as a mobile desk surface.
- Top Tier (under or on board): Keep essential tools inside small birch wooden boxes with lids.
- Middle Tier: Line the tray with tailored light grey felt bins to hold sketchbooks, neutral-toned paints, and brushes.
- Bottom Tier: Store larger linen-bound notebooks, wood carving blocks, and neutral art supplies in larger wooden crates.
- Add subtle white labels with minimalist typography onto the fronts of all storage containers.
Tips and Variations
- Tip: The wooden top board doubles as a portable sketching surface or a flat lid to hide top-tier clutter completely when not in use.
- Variation: Add small potted succulents or air plants in white ceramic pots to the top shelf to enhance the organic Nordic feel.
3. The Pegboard-Mounted Side Attachment System
Introduction
Maximize every square inch of your utility cart by mounting a custom pegboard panel onto the back or sides of the cart frame to hold hanging tools and accessories.
What This Idea Means
Side-mounting expands a cart’s usable storage capacity beyond its horizontal trays. Vertical pegboard attachments transform empty side frames into accessible hanging zones for scissors, rulers, and tape rolls.
Materials Needed
- 3-tier metal cart
- Lightweight plastic or wooden pegboard panel (cut to fit cart side/back)
- Zip ties, heavy-duty Velcro straps, or metal frame clamps
- Pegboard hooks, wire baskets, and hanging cup holders
- Assorted hanging tools (scissors, tape rolls, rulers)
How to Make It
- Measure the side or rear outer frame of your metal utility cart.
- Cut a lightweight pegboard panel to match the frame dimensions.
- Secure the pegboard firmly to the metal cart legs using heavy-duty zip ties or mounting clamps.
- Insert pegboard hooks and wire baskets into the pegboard holes.
- Hang frequently reached tools—such as fabric shears, precision knives, tape measures, and cutting mats—onto the side hooks.
Tips and Variations
- Tip: Ensure heavy tools are hung near the bottom of the pegboard to maintain the cart’s center of gravity and prevent tipping.
- Variation: Paint the pegboard panel a bold contrasting color before mounting it to give your cart a custom two-tone look.
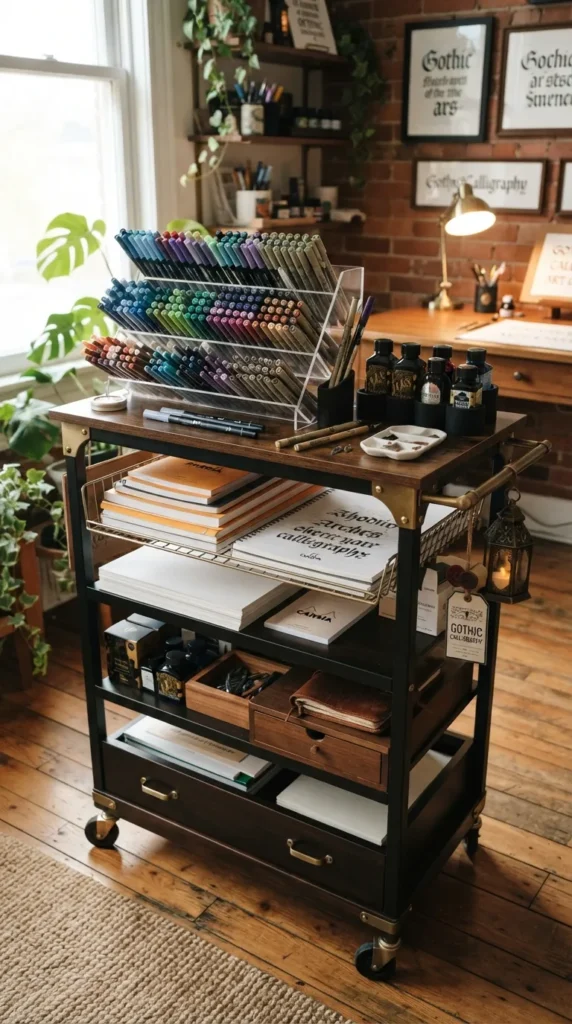
4. The Mobile Calligraphy & Lettering Station
Introduction
Designed specifically for hand letterers and calligraphers, this specialized cart keeps delicate nibs, bottled inks, brush pens, and lined grid pads organized, flat, and protected.
What This Idea Means
Specialty art carts tailor internal compartments to protect delicate tools. Calligraphy tools require flat paper storage to prevent warping and upright bottle holders to prevent ink spills.
Materials Needed
- 3-tier metal cart (preferably with mesh tier bottoms)
- Slanted acrylic marker racks or pen displays
- Incline paper tray sorters
- Leak-proof silicon bottle holders (for ink wells)
- Cleaning cloths and water cup holders
How to Make It
- Top Tier: Position slanted acrylic pen racks facing forward to hold brush pens, fine-liners, and calligraphy markers in clear view.
- Install silicone or foam bottle inserts to hold liquid ink bottles securely upright without slipping.
- Middle Tier: Place horizontal tray sorters to store watercolor paper, tracing pads, and grid guidelines completely flat.
- Bottom Tier: Store jar collections of metal nibs, clean-up rags, water jars, and lightboxes.
- Attach a small magnetic strip to the cart side to hold metal nibs and steel rulers.
Tips and Variations
- Tip: Always store dual-ended brush pens horizontally inside slanted racks to ensure ink stays evenly distributed across both tips.
- Variation: Add a clamp-on LED ring light or flexible gooseneck lamp onto the top handle frame for precise lettering illumination.
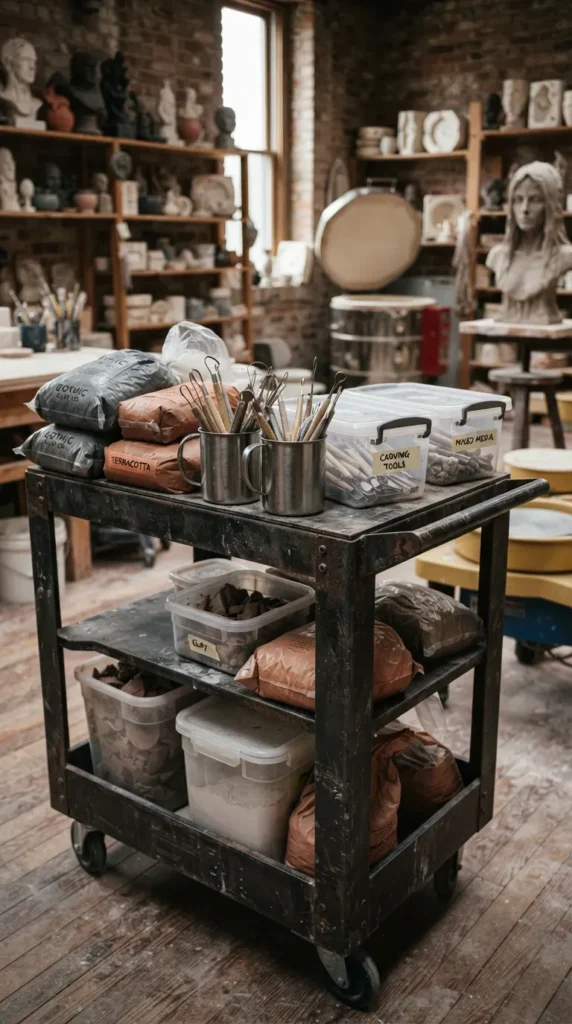
5. The Heavy-Duty Sculpting & Clay Cart
Introduction
For ceramicists, polymer clay artists, and 3D sculptors, this industrial-inspired cart setup manages heavy clay blocks, carving wire tools, rolling pins, and toaster ovens safely.
What This Idea Means
Sculpting requires rugged materials that can handle weight, moisture, and dust while remaining easy to wipe down after messy building sessions.
Materials Needed
- Heavy-duty steel utility cart (high weight capacity)
- Plastic wipeable bins with snap-lock lids
- Stainless steel tool cups
- Heavy-duty rolling pin and acrylic slab boards
- Spray water bottles and wiping sponges
How to Make It
- Top Tier: Keep active sculpting tools—carving wires, loop tools, wooden ribs, and detail needles—upright in stainless steel cups.
- Middle Tier: Store conditioned polymer clay slabs or wet clay blocks inside airtight plastic bins with snap-locking lids to retain moisture balance.
- Place acrylic rolling sheets and tile bases flat across the tray.
- Bottom Tier: Place heavy equipment like tile packs, toaster ovens (for polymer clay baking), and extra clay bags on the reinforced lower shelf.
- Hang spray bottles and damp wiping rags from side hooks.
Tips and Variations
- Tip: Choose a cart with solid metal trays or smooth liners rather than wide mesh so wet clay crumbs don’t fall onto lower shelves.
- Variation: Line the top shelf with a thick silicone mat so you can sculpt directly on the cart surface without clay sticking.
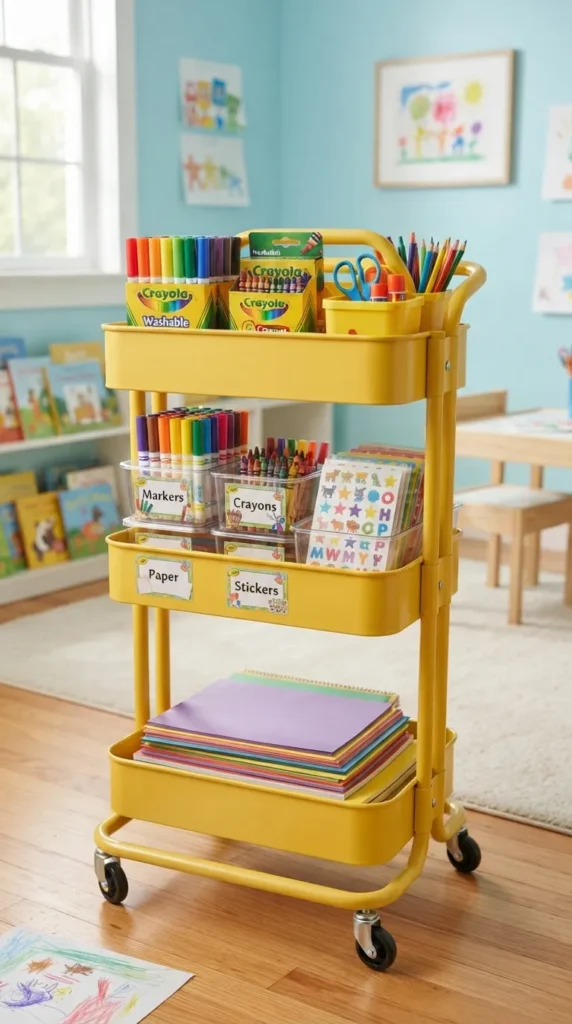
6. The Kids’ Independent Crafting & Coloring Hub
Introduction
Empower children to explore their artistic creativity independently while keeping cleanup simple with an accessible, kid-friendly craft cart filled with safety supplies.
What This Idea Means
Child-centered cart organization places safe, daily-use items at lower heights with visual labels, promoting self-directed creative play and tidy habits.
Materials Needed
- Brightly colored 3-tier rolling cart (e.g., yellow, blue, or pink)
- Heavy-duty plastic storage buckets with sturdy handles
- Child-safe safety scissors, washable markers, and crayons
- Picture labels (stickers showing drawings of markers, glue, paper)
- Butcher paper roll dispenser
How to Make It
- Top Tier: Place caddies with large handles holding washable markers, crayons, and colored pencils so kids can lift the whole caddy onto a play table.
- Middle Tier: Store safety scissors, glue sticks, playdough tubs, and stamp pads in open, low-rimmed plastic bins.
- Bottom Tier: Stack construction paper, coloring books, and sticker sheets in flat paper trays.
- Attach picture-based sticker labels onto the front of each bin so pre-readers know exactly where items belong.
- Mount a paper roll holder on the cart handle for easy paper pulling.
Tips and Variations
- Tip: Use heavy plastic bins with rounded corners rather than glass or ceramic holders to ensure safety if dropped.
- Variation: Add a hanging trash pouch or small bin on the side of the cart so paper scraps can be discarded during craft time.
7. The Rotating Lazy Susan Top Tier System
Introduction
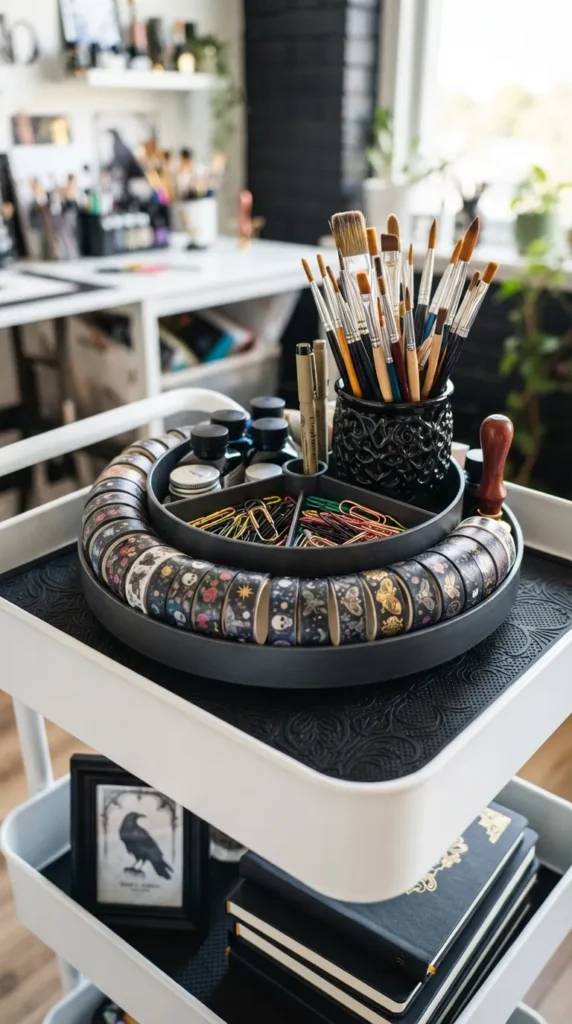
Upgrade the top level of your utility cart by incorporating a multi-compartment Lazy Susan spinner, giving you 360-degree access to all your small daily supplies with a quick spin.
What This Idea Means
Rotational organization eliminates “dead corners” in deep cart trays, allowing you to access tools stored in the back without knocking over items in the front.
Materials Needed
- 3-tier metal cart
- Multi-compartment spinning Lazy Susan (acrylic, wood, or white plastic)
- Small supply items (glue sticks, tape rolls, paintbrushes, clips)
- Non-slip rubber drawer liner mat
How to Make It
- Cut a round or rectangular piece of non-slip rubber drawer liner and lay it flat inside the top cart tray.
- Place a multi-compartment Lazy Susan centrally onto the non-slip mat to prevent it from sliding when rolling the cart.
- Fill the outer pie-shaped compartments with short, frequently used items like tape rolls, pencil sharpeners, eraser blocks, and clips.
- Fill the taller center compartment with upright tools like scissors, bone folders, and paintbrushes.
- Use the remaining open space around the Lazy Susan for flat items or small cups.
Tips and Variations
- Tip: Ensure tall items placed in the center compartment don’t catch on overhead shelf edges if rolling the cart under a desk.
- Variation: Use a two-tiered Lazy Susan if your top cart tray has enough vertical clearance.
8. The Watercolor & Fluid Painting Station
Introduction
Designed to handle liquid mediums safely, this specialized watercolor cart organizes palettes, tube paints, brush jars, and dripping towels for seamless painting workflow.
What This Idea Means
Fluid art setups prioritize water-resistant surfaces, flat paper preservation, and dedicated drying space to handle wet paper sheets and water washes safely.
Materials Needed
- 3-tier utility cart with waterproof tray liners
- Slanted brush drying rack or hanging brush holder
- Airtight watercolor palette boxes
- Mason jars or ceramic water mugs
- Absorbent microfiber cloths and paper towel holder
How to Make It
- Top Tier: Set up water jars, active paintbrushes, sea sponges, and airtight watercolor palettes.
- Attach a paper towel roll holder onto the side frame handle.
- Middle Tier: Store watercolor paint tube collections sorted by color inside clear grid organizers.
- Place masking liquid, salt jars, and watercolor pencils in side cups.
- Bottom Tier: Keep heavy 300 GSM watercolor paper blocks, stretching boards, and paper towels flat and protected.
- Attach a hanging clip strip to the side of the cart for hanging wet watercolor tests to air dry.
Tips and Variations
- Tip: Store natural hair paintbrushes tip-up in jars when dry, or tip-down using hanging brush clips when wet to preserve brush shapes.
- Variation: Add a small spray bottle holder on the side to keep a water mister handy for rewetting dry pans.
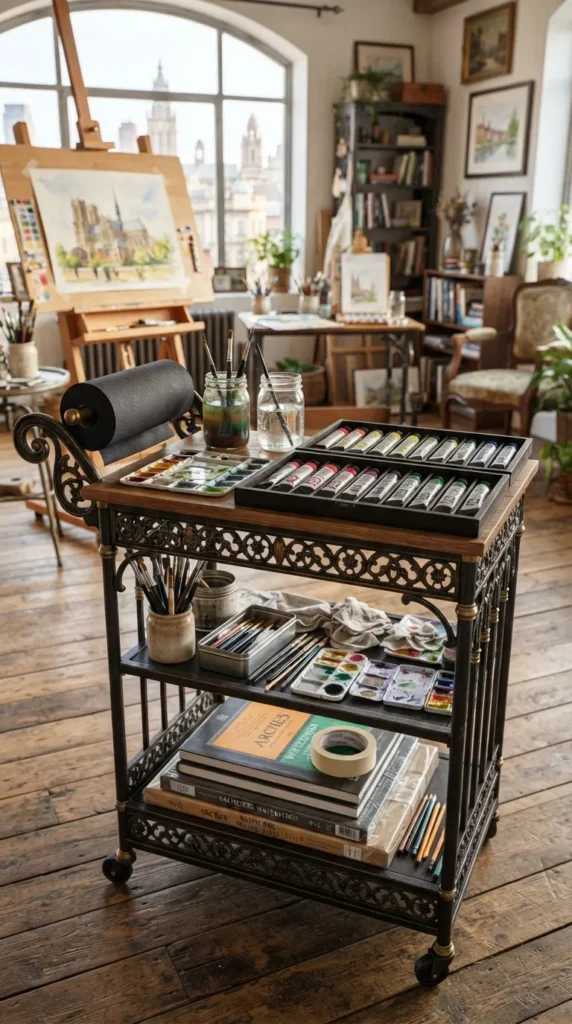
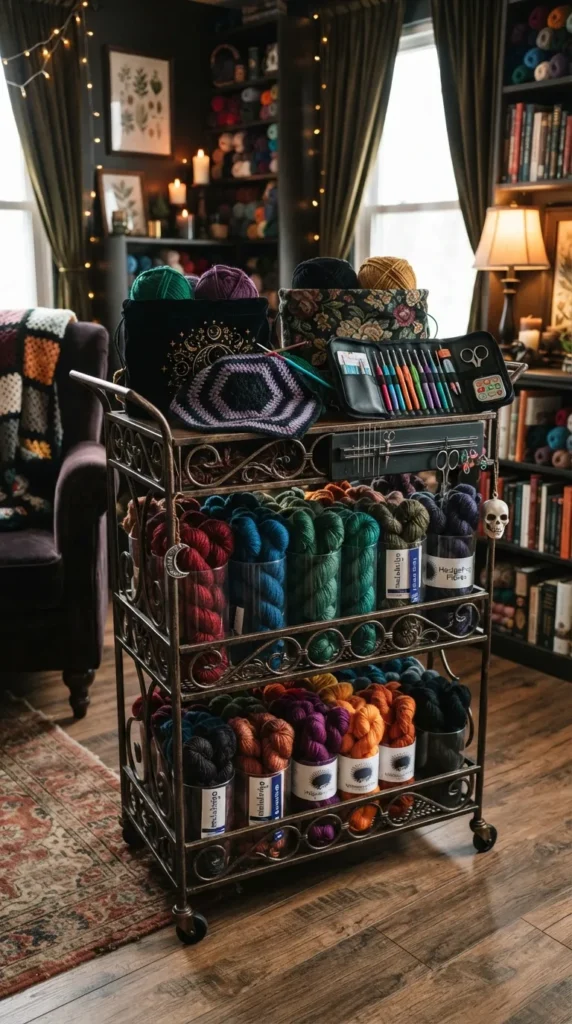
9. The Yarn, Fiber & Crochet Mobile Studio
Introduction
For knitters, crocheters, and weaver artists, this soft-storage utility cart keeps yarn skeins tangle-free, organized by weight or hue, with dedicated hooks for needles.
What This Idea Means
Fiber art organization focuses on protecting soft materials from snagging, dust, and crushing while keeping working yarn strands running smoothly.
Materials Needed
- 3-tier cart (with smooth interior surfaces or fabric liners)
- Clear yarn storage cylinders or round plastic bins
- Crochet hook roll case or magnetic needle strip
- Scissors, tapestry needles, and stitch markers in small tins
- Measuring tape
How to Make It
- Line cart trays with fabric or smooth plastic liners to prevent rough metal edges from snagging delicate yarn fibers.
- Top Tier: Keep active project bags, working yarn cakes, stitch counters, and scissors within easy reach.
- Attach a magnetic strip to hold tapestry needles and metal row counters.
- Middle Tier: Store yarn skeins standing vertically in clear plastic cylinders so colors are visible without pulling skeins out.
- Bottom Tier: Store extra yarn cake reserves, blocking boards, T-pins, and pattern books.
Tips and Variations
- Tip: Store working yarn inside clear plastic containers with a small hole in the lid to pull working strands through without rolling away.
- Variation: Use a wooden cart with smooth dowels to hold hanging spools of weaving thread or macrame cord.
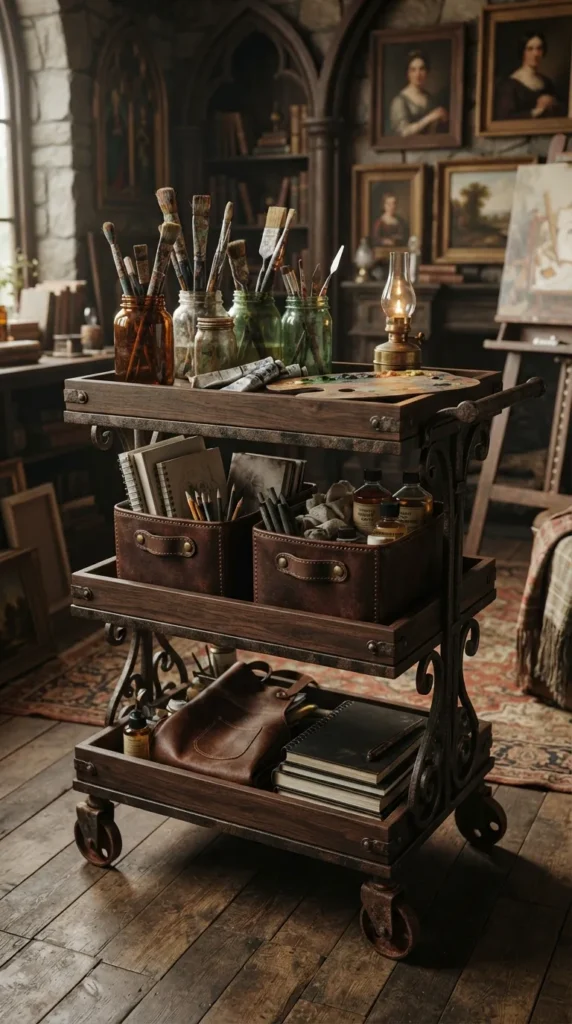
10. The Vintage Industrial Brass & Leather Cart
Introduction
Transform utility storage into a sophisticated statement piece using antique brass fixtures, dark wood accents, and rich brown leather bin straps.
What This Idea Means
Aesthetic-first organization proves that utility carts can blend seamlessly into high-end interior design, vintage studies, or traditional home libraries.
Materials Needed
- Dark bronze or matte black metal utility cart
- Dark stained wooden tray liners or crates
- Leather storage bins or brass wire baskets
- Vintage glass jars and amber bottles
- Brass label clips
How to Make It
- Line the cart metal trays with custom-cut dark walnut or mahogany stained wood panels.
- Top Tier: Store vintage fountain pens, dip pens, and wooden paintbrushes in clear amber glass jars and brass cups.
- Middle Tier: Place dark brown leather bins with brass rivet handles to store sketching supplies, charcoals, and pastels.
- Bottom Tier: Stack leather-bound journals, antique paper sets, and wooden supply boxes.
- Attach brass label holders to the front of each tray to display handwritten calligraphic category tags.
Tips and Variations
- Tip: Use brass wire baskets for open storage; the warm metallic tones pair beautifully with dark wood and amber glass.
- Variation: Wrap the cart handle bar with dark brown leather grip tape for a custom, tactile touch.
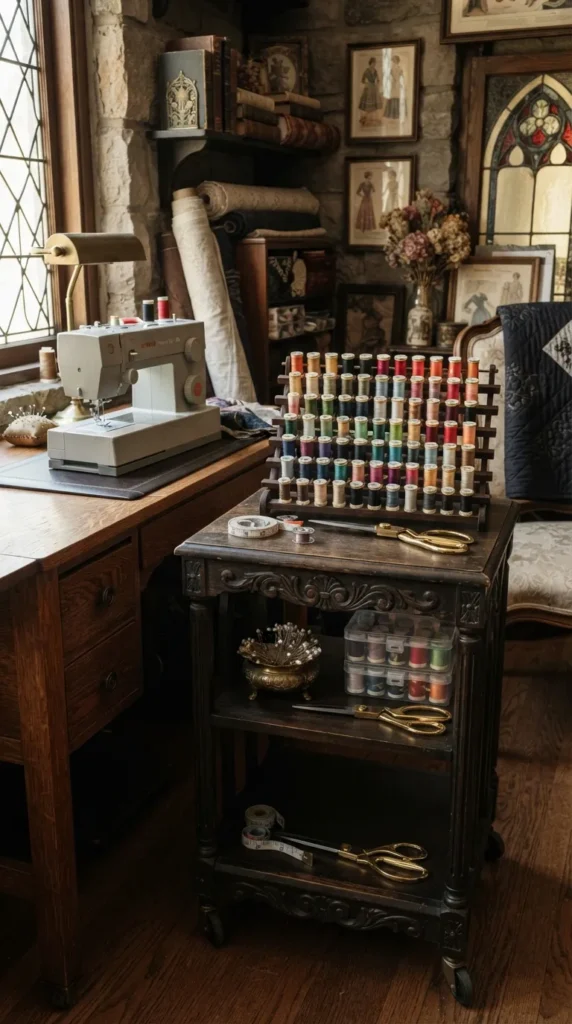
11. The Fabric & Sewing Notions Mobile Cart
Introduction
Keep your sewing space efficient by housing thread spools, bobbins, pattern paper, fabric shears, and iron accessories on a compact mobile sewing assistant.
What This Idea Means
Sewing carts act as a sidekick to your main sewing machine table, holding supporting tools and press accessories right beside your working space.
Materials Needed
- 3-tier utility cart
- Wall/cart-mountable thread spool rack
- Clear bobbin organizer boxes
- Magnetic pin cushion bowl
- Fabric shears and pinking shears
- Small pressing mat and travel iron
How to Make It
- Top Tier: Mount a wooden or plastic thread spool rack against the interior wall of the top tray, sorting thread by color.
- Place a magnetic pin dish and clear bobbin boxes right beside it.
- Middle Tier: Store fabric shears, measuring tapes, chalk wheels, seam rippers, and rotary cutters in compartmented trays.
- Bottom Tier: Store folded fabric yardage, pattern envelopes, interfacing rolls, and a compact wool pressing mat.
- Attach an iron-safe heat-resistant silicone holder to the side frame to hold a warm travel iron safely.
Tips and Variations
- Tip: Never store fabric shears loose with metal tools; keep them in a dedicated padded sheath on the top shelf.
- Variation: Attach a hanging fabric scrap bag to the side of the cart to catch thread clippings and fabric trimmings while sewing.
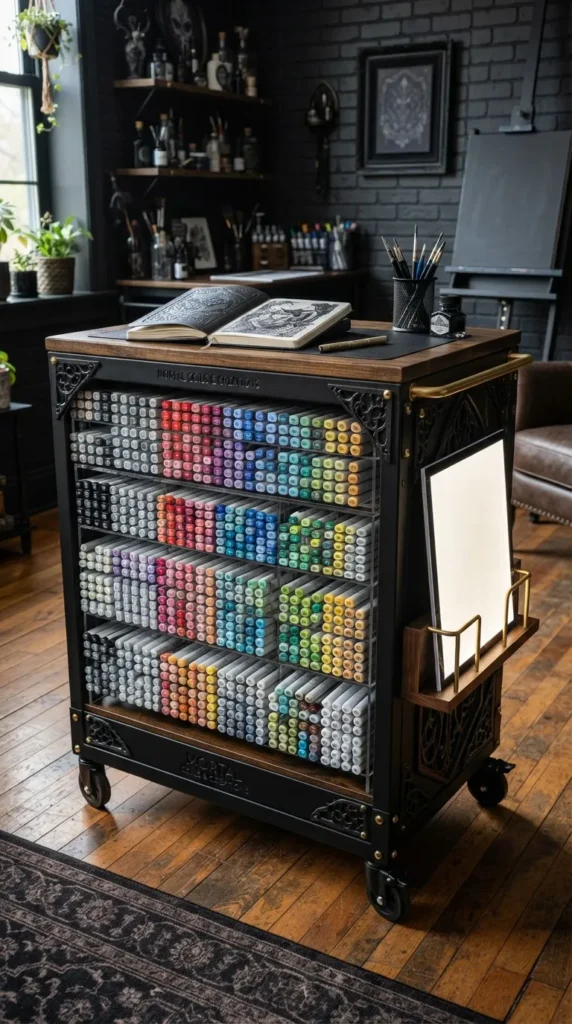
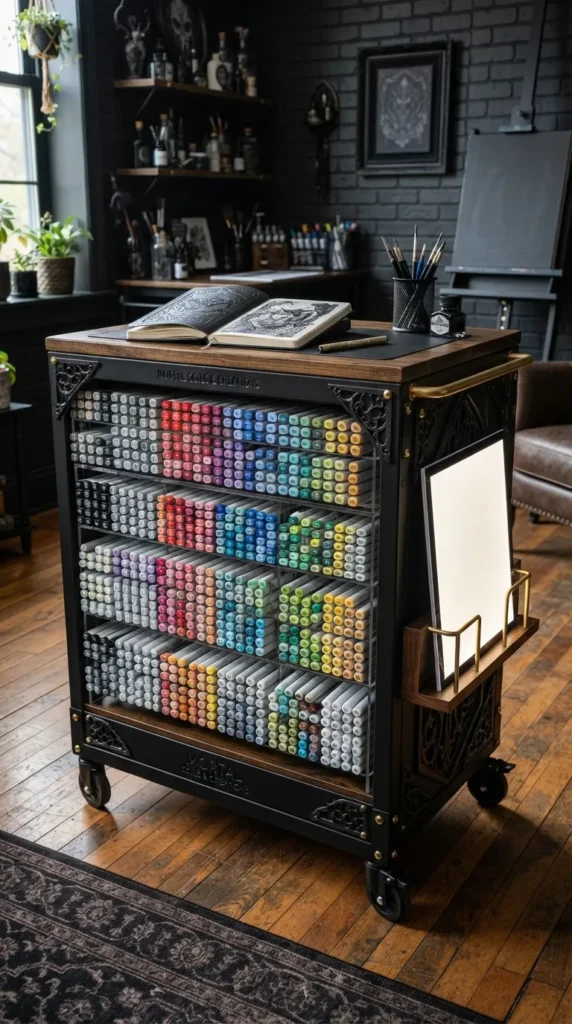
12. The High-Capacity Marker & Comic Artist Station
Introduction
Tailored for illustrators, manga artists, and graphic designers, this station houses hundreds of alcohol markers (like Copics), ink liners, and light pads horizontally.
What This Idea Means
Alcohol markers require horizontal storage to keep dual tips equally saturated with ink. Specialized grid racks optimize density while keeping colors visible.
Materials Needed
- 3-tier utility cart
- Horizontal egg-crate or acrylic marker storage grids
- Fine-liner roll cases
- Ultra-thin LED light pad
- Layout paper pads and bristol board
How to Make It
- Top Tier: Install horizontal acrylic marker grids facing outward, filling them with alcohol markers sorted by color family numbers.
- Middle Tier: Store fine-liner pens, gel pens, graphite pencils, and erasers in shallow pull-out organizer trays.
- Keep an ultra-thin LED light pad stored vertically in a side document slot.
- Bottom Tier: Store thick Bristol board paper pads, marker layout pads, and reference books flat.
- Hang a small desk fan on the side frame to facilitate fast marker ink drying during heavy illustration sessions.
Tips and Variations
- Tip: Label the caps of markers or print a color swatch card and laminate it, attaching it directly to the side of the marker tier for quick reference.
- Variation: Use modular foam shoe racks cut to cart dimensions as lightweight horizontal marker holders.
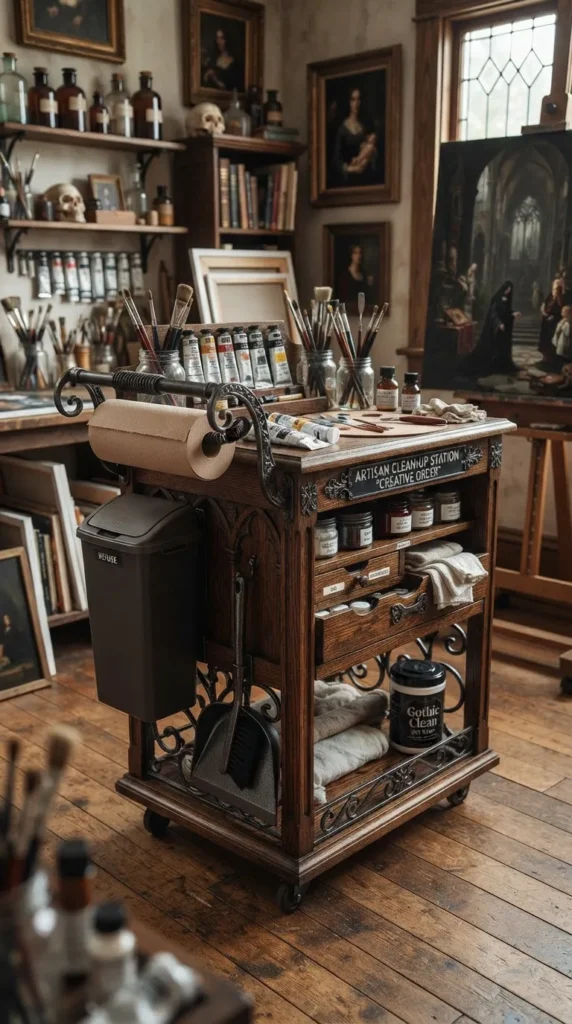
13. The Clean-Up & Trash-Disposal Attachment Cart
Introduction
Integrate cleanup directly into your creative process by adding a dedicated side trash receptacle, paper towel dispenser, and wet-wipe caddy to your art cart.
What This Idea Means
Streamlining disposal reduces creative friction. Having waste management physically attached to your supply cart keeps working tables clear of scrap clutter.
Materials Needed
- 3-tier utility cart
- Hanging side trash bin or slim pop-up waste basket
- Under-shelf or side-mounted paper towel holder
- Wet wipe container holder
- Small dustpan and hand broom
How to Make It
- Attach a slim plastic trash bin to the outer side frame of the cart using over-the-cabinet hooks or bracket clamps.
- Mount a spring-loaded paper towel holder directly under the top tray or onto the main handle.
- Top Tier: Store daily art tools alongside a container of non-toxic artist hand wipes and a water spray bottle.
- Middle Tier: Standard art supply storage (paints, brushes, medium bottles).
- Hang a mini dustpan and hand broom from a side peg on the lower cart frame for sweeping away eraser crumbs and paper bits.
Tips and Variations
- Tip: Line the side trash bin with small plastic bags for quick, mess-free disposal of wet paint wipes and paper scraps.
- Variation: Attach a second hanging bin for dry paper recycling to sort waste automatically as you work.
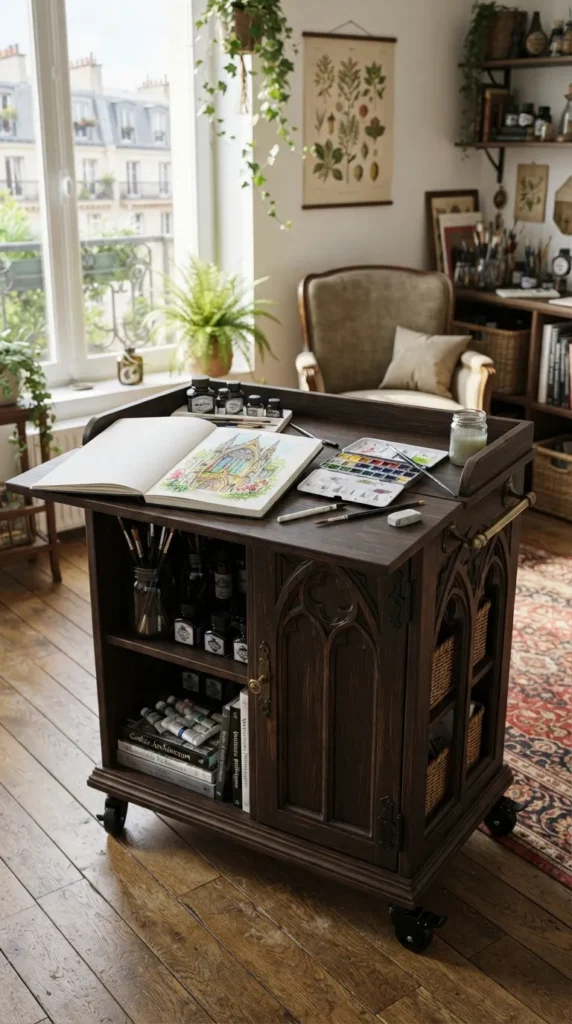
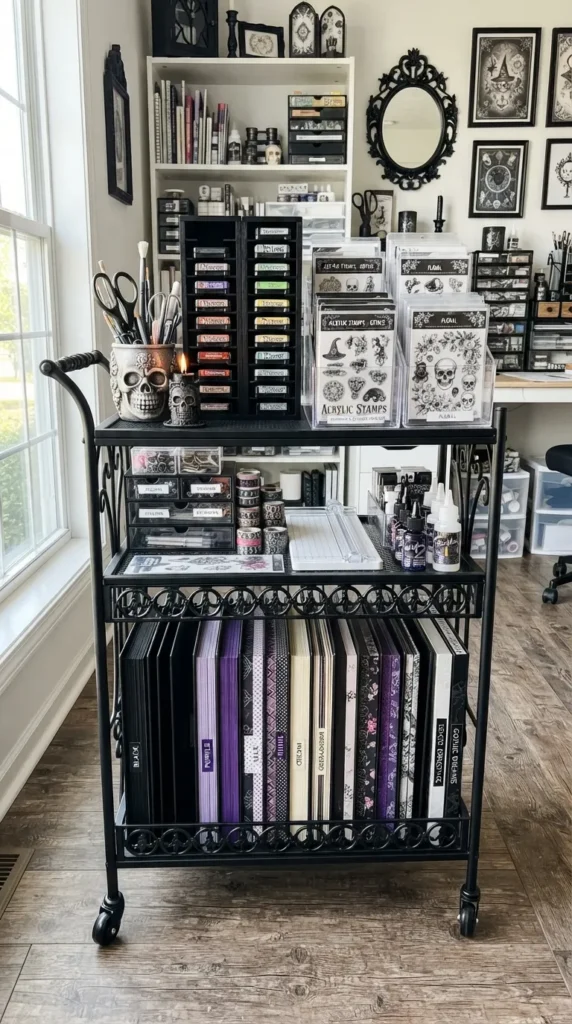
14. The Stamp, Scrapbook & Paper Crafting Cart
Introduction
Paper crafters, card makers, and scrapbookers will love this setup designed to hold heavy steel dies, clear acrylic stamps, ink pads, and 12×12 cardstock flat and crease-free.
What This Idea Means
Paper crafting requires flat, wide storage for large paper sheets and thin magnetic storage for metal cutting dies and clear stamps.
Materials Needed
- 3-tier metal cart
- Vertical 12×12 inch paper rack or file slot sorter
- Ink pad tower storage holders
- Magnetic sheets in binder sleeves (for steel dies)
- Clear stamp storage pockets
- Double-sided tape runner caddy
How to Make It
- Top Tier: Install vertical or slanted ink pad towers sorting dye and pigment ink pads by color family.
- Store tape runners, bone folders, and dimensional foam dots in small side cups.
- Middle Tier: Place clear stamp sets and magnetic die sheets standing upright inside clear flip-through storage bins.
- Bottom Tier: Install a vertical 12×12 inch cardstock holder to keep scrapbooking paper sheets upright, flat, and unbent.
- Hang a craft cutting mat from a side hook.
Tips and Variations
- Tip: Organize clear stamp sets alphabetically by theme (e.g., “Floral”, “Birthday”, “Alphabets”) inside flip bins for rapid searching.
- Variation: Add a portable mini die-cutting machine to the top wooden board cover for an all-in-one cardmaking station.
15. The Fold-Out Desk Attachment Space Saver
Introduction
Convert a standard 3-tier cart into a complete drop-leaf workstation by attaching a hinged wooden flap that folds up into a desk and drops down flat for storage.
What This Idea Means
Dynamic furniture design maximizes small apartments. Combining storage with an expandable tabletop creates an instant pop-up studio in tiny rooms.
Materials Needed
- Sturdy 3-tier metal or wood utility cart
- Wooden board cut to desired desk surface size
- Folding drop-leaf support brackets
- Screws and drill
- Lockable wheel casters
How to Make It
- Attach two folding drop-leaf table brackets securely to the back or side outer frame of the cart.
- Mount a smooth wooden board onto the brackets.
- Test the mechanism: lift the board until brackets lock horizontal for working, and press the release lever to fold it flat down when done.
- Ensure the cart’s wheel casters are upgraded to heavy-duty locking casters to hold the cart stationary when leaning on the desk.
- Fill the cart tiers with your daily supplies; lift the fold-out flap whenever you are ready to work!
Tips and Variations
- Tip: Always engage wheel locks before lifting and applying weight to the fold-out tabletop surface.
- Variation: Cover the fold-out board with a self-healing cutting mat for instant protected crafting space.
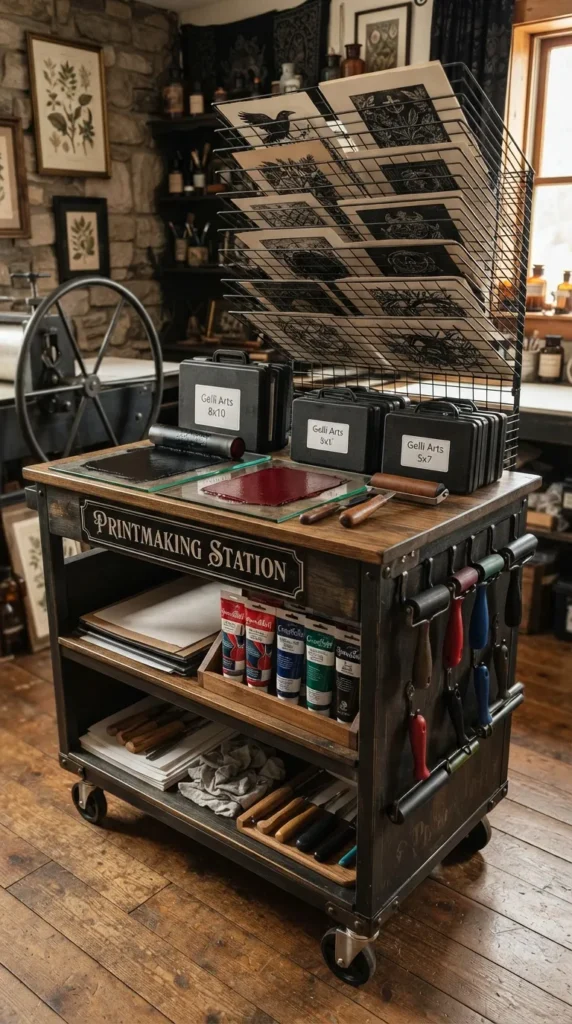
16. The Printmaker & Gelli Plate Station
Introduction
For block printers, gel plate artists, and monoprint enthusiasts, this cart keeps sticky brayers, printing inks, glass slabs, and delicate drying prints structured.
What This Idea Means
Printmaking involves wet ink rolling and delicate paper handling. Storage must keep brayer rollers raised so rubber doesn’t dent while providing flat print drying space.
Materials Needed
- 3-tier utility cart with smooth non-porous trays
- Brayer rubber roller stands or hanging hooks
- Printing ink tubes (oil or water-based)
- Gelli printing plates in protective clamshell cases
- Barren tools and carving linoleum blocks
- Wire drying rack attachment
How to Make It
- Top Tier: Hang rubber brayers vertically from side hooks so the rubber rollers hang freely in the air without touching surfaces.
- Place glass mixing slabs and ink tubes on the top tray.
- Middle Tier: Store Gelli printing plates flat inside original clam cases alongside linoleum carving blocks and gouge tools.
- Bottom Tier: Stack smooth printing papers (Rives BFK, mulberry paper) flat inside clear trays.
- Attach a multi-tier wire drying rack to the back frame of the cart to slide fresh, wet prints into for drying.
Tips and Variations
- Tip: Never store brayers resting flat on their rubber rollers, as this creates permanent flat spots that ruin smooth ink rolling.
- Variation: Line the top cart tier with parchment paper for easy wipe-down of accidental printing ink smudges.
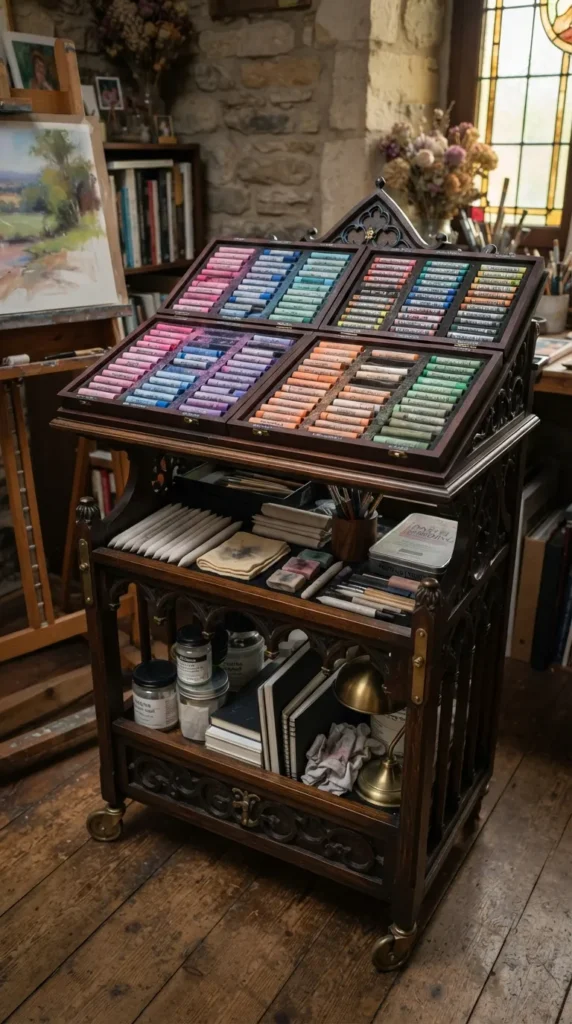
17. The Pastel & Chalk Dust-Contained Studio
Introduction
Managing messy media like soft pastels, oil pastels, and charcoal requires specialized dust containment, soft foam cushioning, and fixative spray storage.
What This Idea Means
Dusty media can contaminate other art supplies. Organizing pastels involves keeping soft sticks cushioned in foam trays to prevent shattering while containing loose dust.
Materials Needed
- 3-tier cart
- Foam-lined pastel storage boxes or trays
- Microfiber cloths and wet sponges
- Spray fixative cans
- Blending stumps, tortillons, and kneaded erasers
- Sandpaper sharpening pads
How to Make It
- Top Tier: Lay soft pastels and oil pastels flat inside custom foam-lined wooden or plastic trays sorted by color values (darks, mid-tones, lights).
- Middle Tier: Keep kneaded erasers, chamois cloths, sandpaper pads, and blending stumps in clear divided trays.
- Place a small, damp sponge in a sealed container for cleaning dusty fingertips.
- Bottom Tier: Store fixative spray cans upright, alongside heavy sanded pastel paper blocks and fixative masks.
- Attach a small magnetic holder to keep metal fixative nozzles and clips secure.
Tips and Variations
- Tip: Keep a small portable vacuum or dusting brush attached to the side of the cart for clearing loose pastel dust off trays.
- Variation: Separate soft chalk pastels and oily pastels into distinct tiers to avoid oil transfer onto dry pastel sticks.
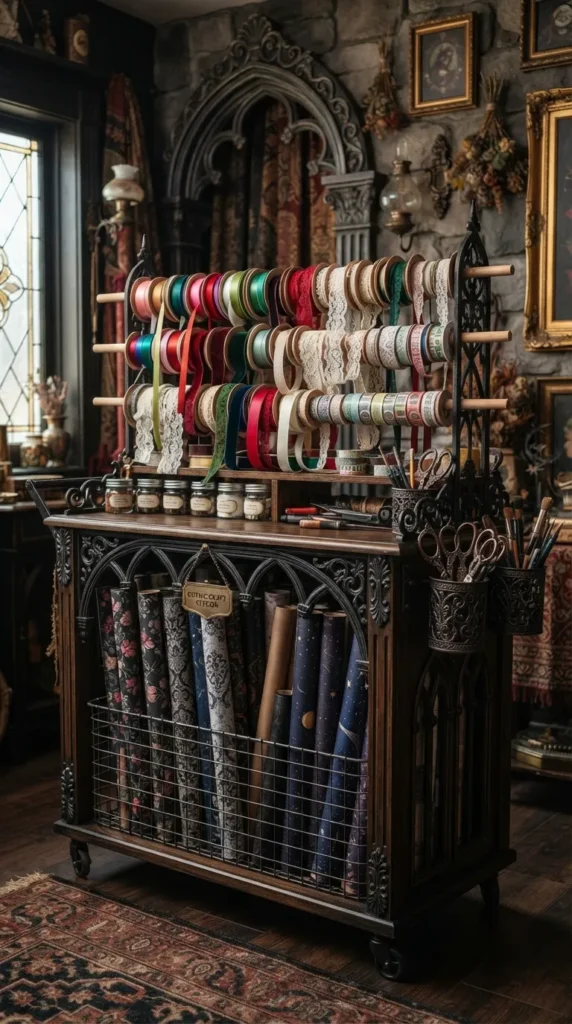
18. The Ribbon, Washi Tape & Trim Dispensing Cart
Introduction
Turn your utility cart into a continuous dispensing hub for ribbons, decorative washi tapes, lace trims, and wrapping cords using wooden dowel rods.
What This Idea Means
Dispensing storage keeps spooled materials organized and ready to pull and cut without removing spools from their storage racks.
Materials Needed
- 3-tier utility cart with open side frames or grid trays
- Wooden dowel rods (cut to span cart width)
- Tension curtain rods
- Washi tape organizer towers
- Sharp ribbon shears and tape dispensers
How to Make It
- Pass wooden dowels or spring-loaded tension rods horizontally across the upper tier frame.
- Thread ribbon spools, twine rolls, and lace reels onto the rods before locking them into place.
- Top Tier: Place washi tape towers and acrylic tape dispensers right beside a fixed ribbon cutting guide.
- Middle Tier: Store scrapbooking paper, gift tag sets, and card blanks flat in storage boxes.
- Bottom Tier: Store large rolls of wrapping paper, tissue paper packs, and gift bags upright in wire baskets.
Tips and Variations
- Tip: Use small transparent scotch tape dots to pin down loose ribbon ends so spools don’t unroll inside the cart.
- Variation: Paint wooden dowels in contrasting colors to match your cart’s overall aesthetic color theme.
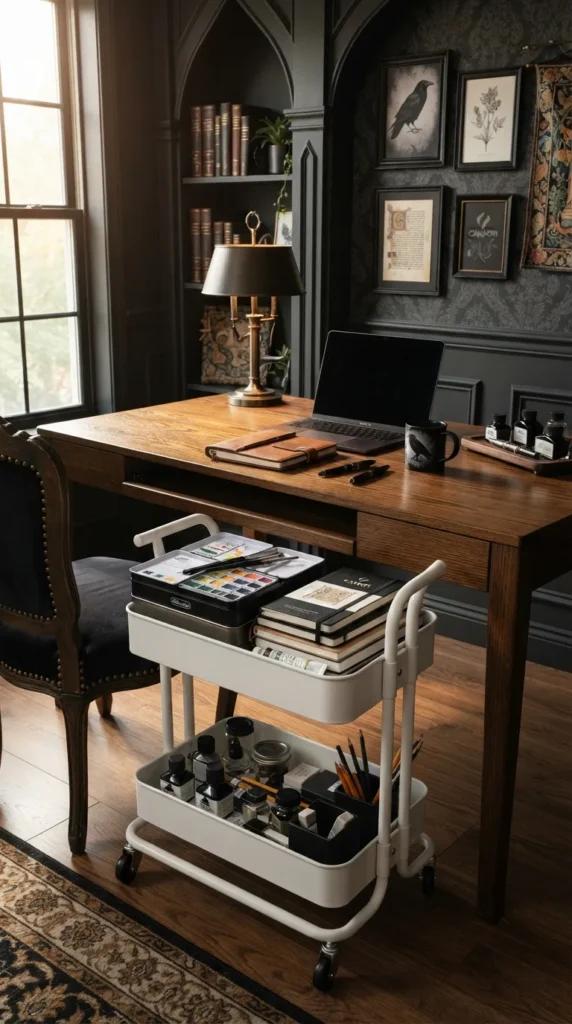
19. The Under-Desk Slide-Out Compact Cart
Introduction
Designed with a low-profile height, this space-saving cart rolls directly under standard office desks and study tables, hiding supplies completely out of sight when work is complete.
What This Idea Means
Under-desk integration utilizes dead vertical space under tables, keeping creative tools within arm’s reach while preserving room floor space.
Materials Needed
- Low-profile 2-tier or 3-tier utility cart (under 26 inches total height)
- Low-clearance storage bins and flat paper trays
- Flush handle grip or recessed side pulls
- Smooth multidirectional caster wheels
How to Make It
- Measure the exact height clearance beneath your main desk or table top (subtracting 2 inches for comfortable rolling clearance).
- Select or adjust a low-profile 2-tier or 3-tier cart frame to fit the clearance height.
- Top Tier: Organize flat items—such as sketchbooks, watercolor pans, flat pencil tins, and low marker cases—that don’t stick up past the cart handle.
- Bottom Tier: Store flat paper packs, extra supply boxes, and cables in low plastic trays.
- Roll the cart under the desk when done, leaving your study room looking neat and spacious.
Tips and Variations
- Tip: Choose a cart with top recessed handles rather than tall arch handles so it slides cleanly under low desk drawers without catching.
- Variation: Use the top tier as a pull-out mouse pad or secondary laptop tray while seated at your desk.
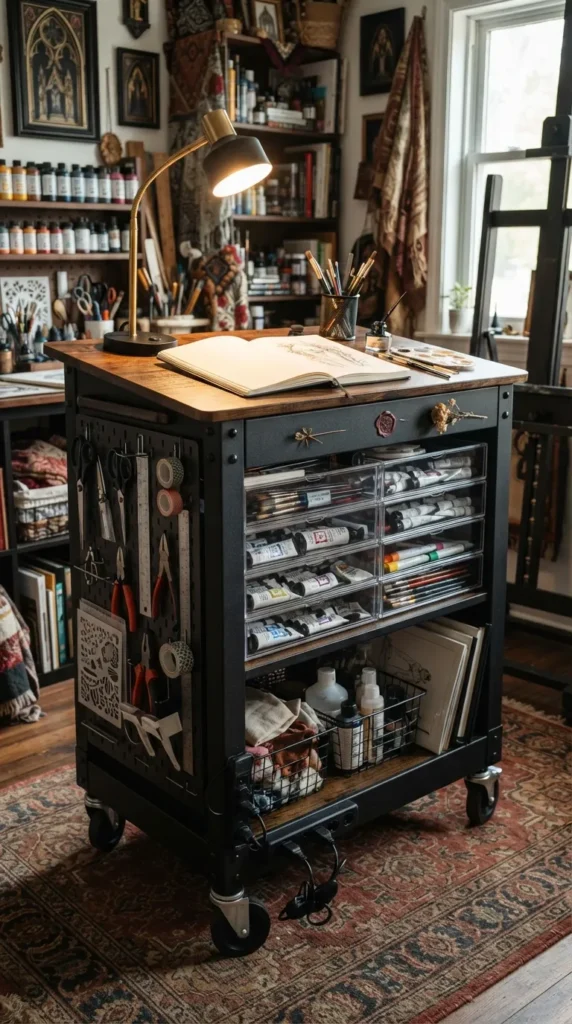
20. The Ultimate All-in-One Master Creator Cart
Introduction
The apex of creative organization: an all-in-one cart system that combines vertical pegboards, side cup extensions, power strip integrations, and modular clear drawers into a complete studio on wheels.
What This Idea Means
Master organization brings every specialized storage technique together into a single, high-efficiency system capable of supporting multi-medium artists.
Materials Needed
- Large 3-tier heavy-duty metal utility cart with wooden top board
- Side-mounted pegboard panel with full hook kit
- Clamp-on power strip with USB ports
- Clear modular acrylic pull-out drawers
- Hanging side bins and paper towel dispenser
- Clamp-on LED desk lamp
How to Make It
- Base Setup: Assemble a heavy-duty cart, install locking caster wheels, and fit a wooden worktop board over the upper tier.
- Power Hub: Clamp a surge-protected power strip with USB ports to the rear vertical frame pole to power lights, glue guns, and tablet chargers.
- Lighting: Attach a flexible LED gooseneck lamp to the top handle.
- Side Extensions: Mount a pegboard panel on one side for hanging shears and tape; attach hanging cups and a paper towel holder on the opposite side.
- Interior Tiers: Fill lower trays with modular acrylic drawers sorting paints, brushes, papers, tools, and mediums by category.
Tips and Variations
- Tip: Use zip ties to route the main power strip cord neatly down one frame leg so it doesn’t tangle in the cart wheels when rolling.
- Variation: Customize the color palette of bins and pegboard accessories to match your personal home studio decor.